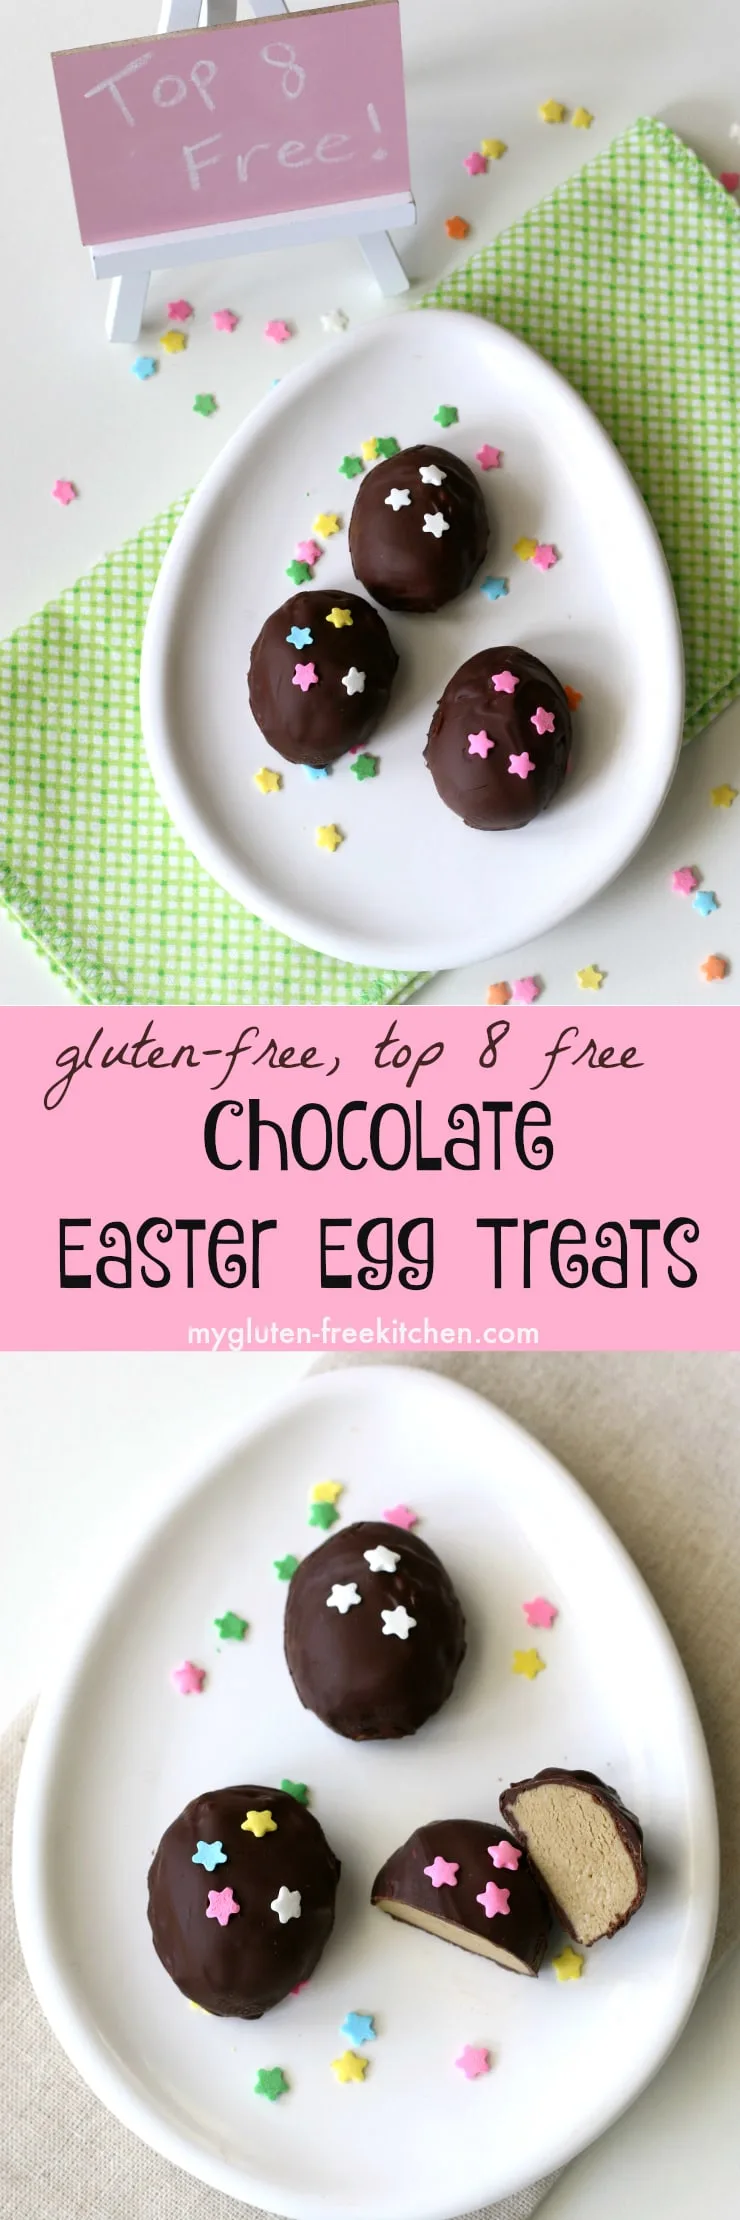
Have I got a fun treat to share with you all today!! These allergy-friendly chocolate easter eggs are like the popular chocolate covered peanut butter eggs, except they accommodate food allergies. Everyone deserves chocolate candy in their Easter basket, even those of us with food allergies and intolerances. These are perfect for class parties too if you’ve been asked to bring a peanut free easter candy! Thanks to Enjoy Life for sponsoring this yummy enjoy life easter candy recipe that’s a fun family activity for spring too!
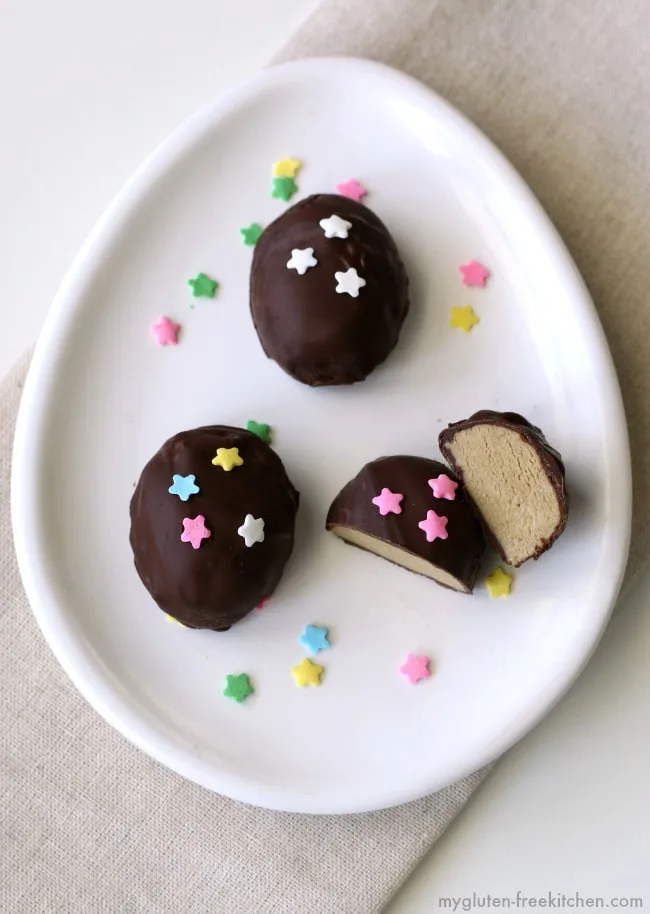
When you have celiac, it’s hard to find gluten-free Easter candy and treats that are safe. When you deal with other food allergies, the choices just get tinier and tinier. I feel for kiddos that have the top 8 allergies, as they have such slim pickings when it comes to holiday candies and treats. That’s why I’m sharing a homemade Easter eggs recipe today so you can make these treats for your favorite kids to enjoy!
I know many of you parents, grandparents, and caregivers make your own homemade treats for your allergic children and often for their whole classroom. Here’s a fun new recipe that everyone at home or school will love! These chocolate covered eggs are not only gluten-free, but also dairy-free, nut-free, peanut-free, soy free and more!
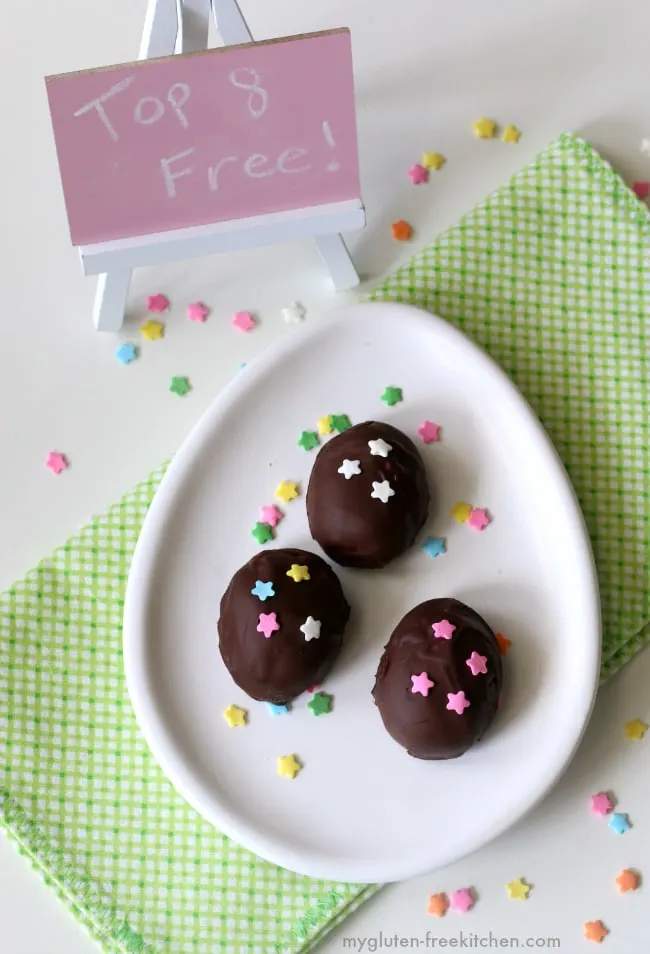
Notes on ingredients for these dairy-free chocolate eggs:
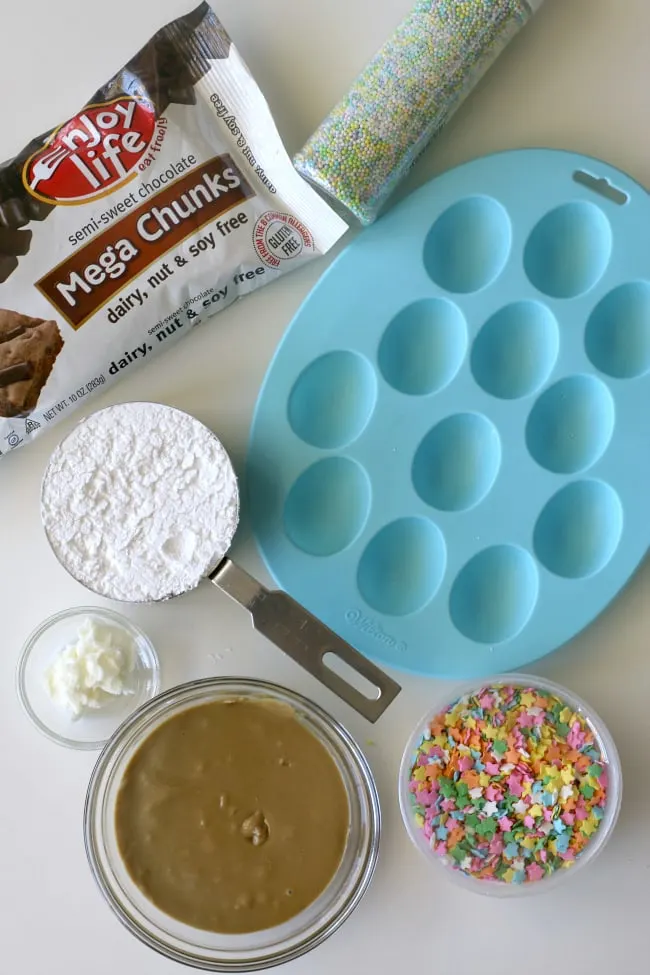
- Wanting to make a treat that even peanut or nut allergic kids could enjoy, I chose to use a sunflower seed butter in these. It was really good! If you aren’t dealing with peanut or tree nut allergies, you can use peanut butter or almond butter in this recipe as a straight swap.
- Powdered Sugar: Yes, it’s a lot of sugar. But this is a treat, that you’ll probably eat 1-2 of, for a special occasion. No I don’t have any substitution recommendations for powdered sugar!
- Chocolate: I used Enjoy Life semi-sweet chocolate Mega Chunks. I LOVE these! They’re not only free of the top 8 allergens, but they’re also certified gluten-free. They melt wonderfully too. Those would work well in this recipe too! I can find this yummy chocolate at my local stores. It’s also available directly from Enjoy Life’s store, and from Amazon here. If you like even darker chocolate, just swap for the same amount of Enjoy Life dark chocolate morsels instead.
- Shortening: It’s best to use just a bit of shortening to make the chocolate glaze shiny and coat well. I prefer to use an organic vegetable shortening. Coconut oil would be another option if you don’t have allergies to coconut.
- Sprinkles: I found some sprinkles at my local Target that were top 8 free. Hobby Lobby is another good source for finding sprinkles that are clearly labeled with allergens. While I used stars, I would have loved using little circles to make dots, or little flowers on some too. You can also use nonpareils or even colored sanding sugar to decorate yours.
These are also a super fun spring activity to do with the kids. You can do these for Easter or really anytime this spring since the egg theme is fun throughout the spring. I had a fun time making these with one of my boys. He enjoyed mixing, pressing the dough into the molds, dipping into the melted chocolate and decorating with sprinkles. I mean, who doesn’t love sprinkles?! Also, he’s got great hands for photos! I’m going to be using him more for food prep photos!
How to make this dairy-free Easter candy:
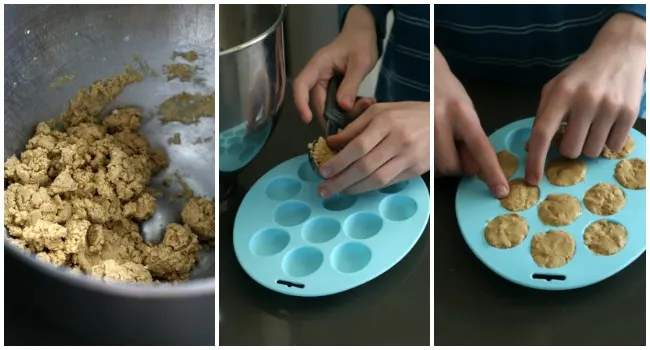
I’ve included a few photos just so you’ll see what the filling mixture look like. You’re going to make it and probably think you messed up, but if it looks like this first photo, you’ve got it!
After you make the filling, you’ll scoop out one flat tablespoon at a time, pressing each one into the egg cavities of your silicone pan. (Note, totally recommend getting this inexpensive Easter Egg shaped silicone mold. The recipe makes 12 eggs, so it’s perfect!) If you don’t have an egg mold, just roll each tablespoon of dough into balls, flatten, and hand shape to more of an egg shape. You can totally wing it and it’ll be fine. The chocolate will cover any irregularities anyway.
If you’d rather make little chocolate bunnies, you could get this silcone bunny mold instead.
It is best to place the shaped eggs in the pan in the freezer so that they’ll be solid before you dip them in chocolate. Otherwise, they can fall apart during dipping. I’d recommend chilling for at least 45 minutes. Overnight is also fine if you need to.
When dipping in the melted Enjoy Life semisweet chocolate (which I added a bit of shortening to), I find it really useful to use these dipping tools. My set is discontinued and hard to find, but here’s a similar newer set. I’ve had my set for many years and use them all the time for helping me easily coat all sorts of treats with chocolate without getting it all over me.
Also, if you get sidetracked and come back and find that your melted chocolate in the bowl has hardened a bit, just microwave it another 15 seconds to make it dippable again. The Enjoy Life semisweet chunks work so well for this and taste amazing!
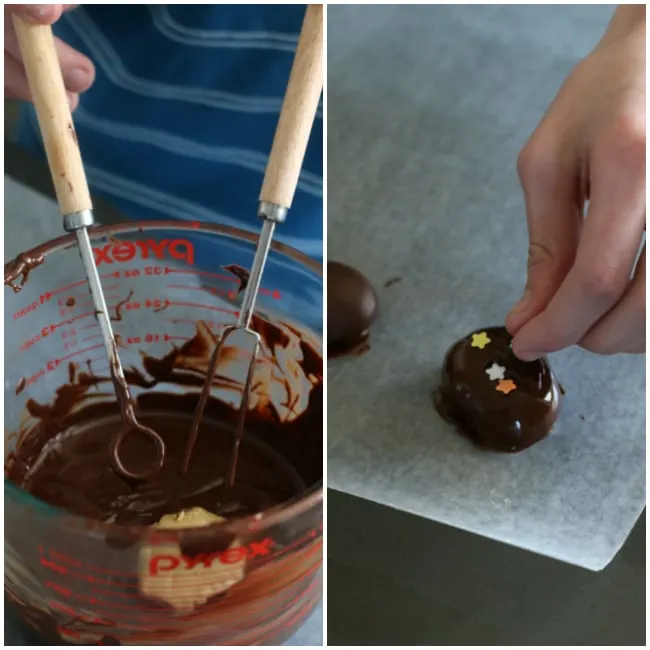
After dipping each egg, you’ll want to just set it on wax paper. I usually let it set just a minute before adding the sprinkles. If you are adding something finer like sanding sugar, you’ll want the melted chocolate to set longer, or it’ll just sink into the chocolate and not be visible.
Once the chocolate has set fully, you can gently move them onto a serving plate or you can package them in little candy boxes. I bought mine at my local hobby/craft store and can put three chocolate eggs in each box for gifting – just right for a kiddo for Easter! Look at these nut free chocolate Easter eggs!
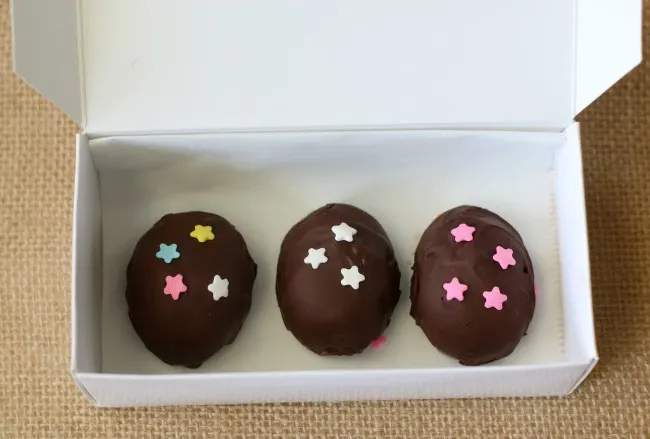
You’ll want to keep the finished chocolate eggs at room temp. Chilling for too long will result in discolored (but still delicious) chocolate. If I was taking these to someone or to a class, I would chill them for a just 5-10 minutes right before leaving. Not enough to discolor, but it’ll help the chocolate to not be messy once people enjoy them.
And now for the recipe! This recipe makes 12 chocolate dipped eggs that are gluten-free and free of the top 8 allergens. Hope you enjoy!
Allergy-friendly Chocolate Easter Eggs
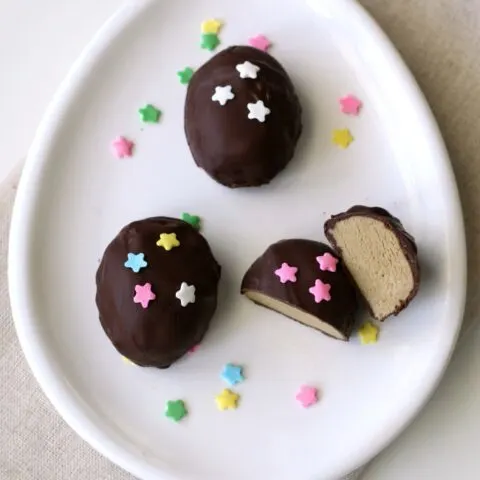
Everyone deserves chocolate candy in their Easter basket, even those of us with food allergies and intolerances. These chocolate eggs are perfect for class parties too!
Ingredients
- 1/2 cup sunflower seed butter*
- 1 Tbsp. organic shortening or butter alternative (room temp)
- 1 tsp. non-dairy milk
- 1 cup powdered sugar
- 1 cup Enjoy Life Semi-sweet Chocolate Mega Chunks
- 1 tsp. organic shortening
Instructions
- Mix the sunflower seed butter, organic shortening, and non-dairy milk together with a mixer. Mix well, until well blended. Add 1/2 of the powdered sugar, blend on low until mixed. Add remaining powdered sugar, and continue mixing until all mixed in. Altogether, mixing this filling takes about 2 minutes.
- After you make the filling, you'll scoop out one flat tablespoon at a time, pressing each one into the egg cavities of your silicone mold. If you don't have an egg mold, just roll each tablespoon of dough into balls, flatten, and hand shape to more of an egg shape.
- Place the whole tray of eggs in the mold in the freezer for 45 minutes or up to overnight.
- When ready to dip, remove from freezer while you prepare chocolate.
- In a glass bowl or other microwave safe bowl, add Enjoy Life semi-sweet chocolate mega chunks and organic shortening. Place in microwave for 30 seconds at a time, removing to stir and placing back in microwave as needed until mixture is smooth and shiny.
- Dip sunflower butter eggs into melted chocolate one at a time, turning to coat. Place each chocolate coated egg on wax paper to set.
- Decorate with allergy friendly sprinkles, non pareils, or colored sugar.
- Store at room temperature.
Notes
*If your allergies allow, you can substitute with peanut butter, almond butter, or hazelnut butter with equal success.
You'll want to keep the finished chocolate eggs at room temp. Chilling for too long will result in discolored (but still delicious) chocolate. If I was taking these to someone or to a class, I would chill them for a just 5-10 minutes right before leaving. Not enough to discolor, but it'll help the chocolate to not be messy once people enjoy them.
Recommended Products
As an Amazon Associate and member of other affiliate programs, I earn from qualifying purchases.
-
 2105-5719 Wilton Easter Egg Shaped Silicone Treat Mold
 -
 Wilton Candy Melts Candy Dipping Tool Set, 3-Piece
 -
 SunButter Creamy Organic Sunflower Seed Butter, 16 Ounce Plastic Jar (Pack 2)
 -
 Spectrum Organic All Vegetable Shortening with Spoon - 24 oz
 -
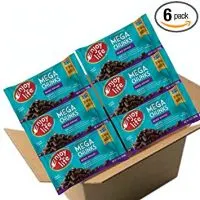 Enjoy Life Baking Chocolate, Soy free, Nut free, Gluten free, Dairy free, Non GMO, Vegan, Paleo, Semi Sweet Mega Chunks, 10 Ounce Bags, 6 Count
Pin this to your Easter board on Pinterest:

My inspiration for these was my friend Jeanine’s recipe for gluten-free peanut butter Easter Eggs. My kids want me to make those next! They’re a great choice if you don’t need a peanut free chocolate candy.
Do you have a favorite treat you use to enjoy that you’d like help making gluten-free or free of even more allergies? Let me know in the comments and I’ll try to help!
This sponsored post was created through my partnership with Enjoy Life Foods. As always, all opinions are my own. Collaborating with brands I love allows me to keep bringing you new and varied recipes! Thanks for your support!

Gluten-free Hot Cross Buns Recipe {dairy-free}
Sunday 3rd of April 2022
[…] favorite gluten-free Easter recipe is these dairy-free chocolate Easter eggs. If you’re making a gluten-free Easter brunch, check out my gluten-free breakfast casserole […]
25+ Super Amazing Recipes For Easter Candy - Love Food Recipes
Saturday 19th of February 2022
[…] Image and Recipe by My Gluten Free Kitchen […]
Mindy
Monday 15th of April 2019
Can one make powdered sugar out of something other than Cane Sugar (which my lil guy is allergic to)?
Megan
Monday 17th of April 2017
Great idea to use a mold. I didn't and mine were more difficult to shape!
Raia Todd
Thursday 13th of April 2017
Those look so fun! And perfectly kid-friendly. ;) What a great treat.