I’ve been making variations of these yummy gluten-free brownie balls for years, but just decided this week to make a gluten-free, dairy-free version. I used my popular Chewy Fudgy Gluten-free Brownies recipe as my base and made necessary changes to make this dairy-free and suited for being used for making brownie balls.
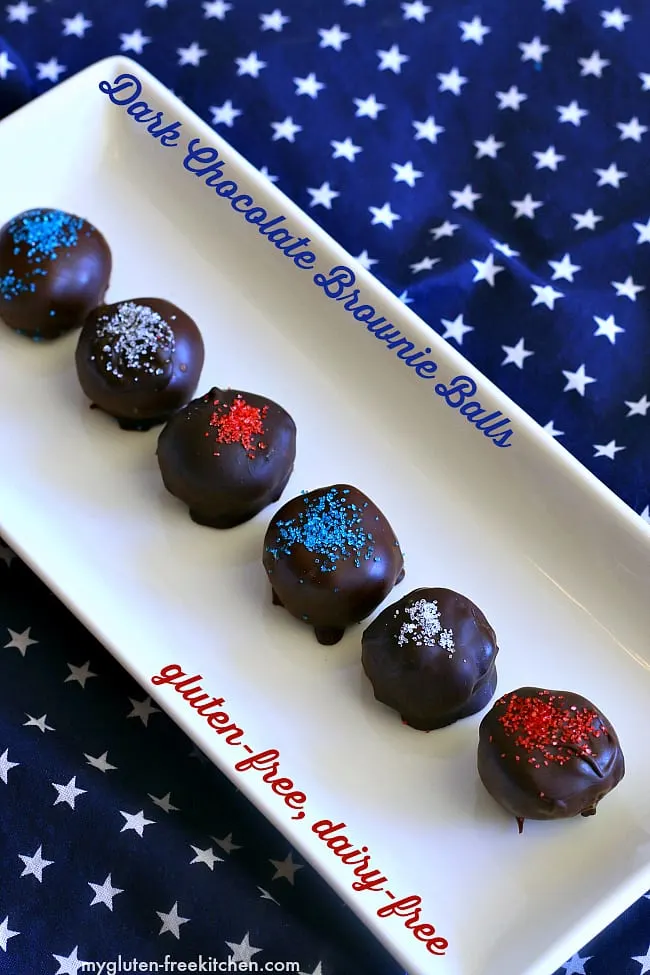
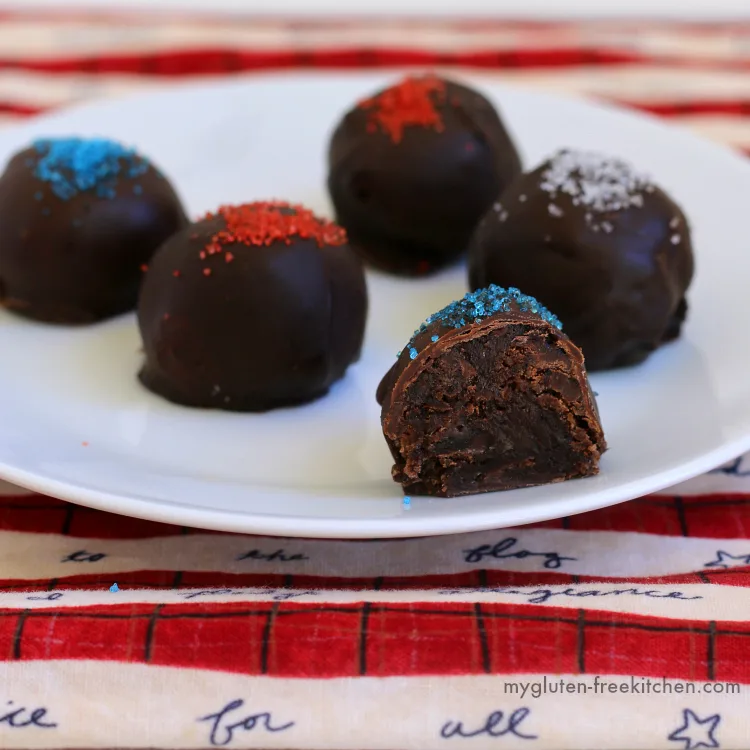
I know cake balls or cake pops have been all the rage for a number of years now, but I’m a much bigger fan of brownie balls instead! They are so fudgy and rich, almost like a brownie truffle! Over the top good!
I had a hard time deciding what to call these! Gluten-free brownie bites, brownie balls, brownie bombs, brownie truffles… any way you call it, they are rich and delicious!
Speaking of summer, who is ready for summer? My kids get out of school in early June, so we’ve been busy firming up all of our summer plans. We have trips planned to Salt Lake City, northern California, and Seattle planned for this summer. In between all of our trips, I’m sure we’ll be having lots of backyard barbecues and making it to a few potlucks with friends too.
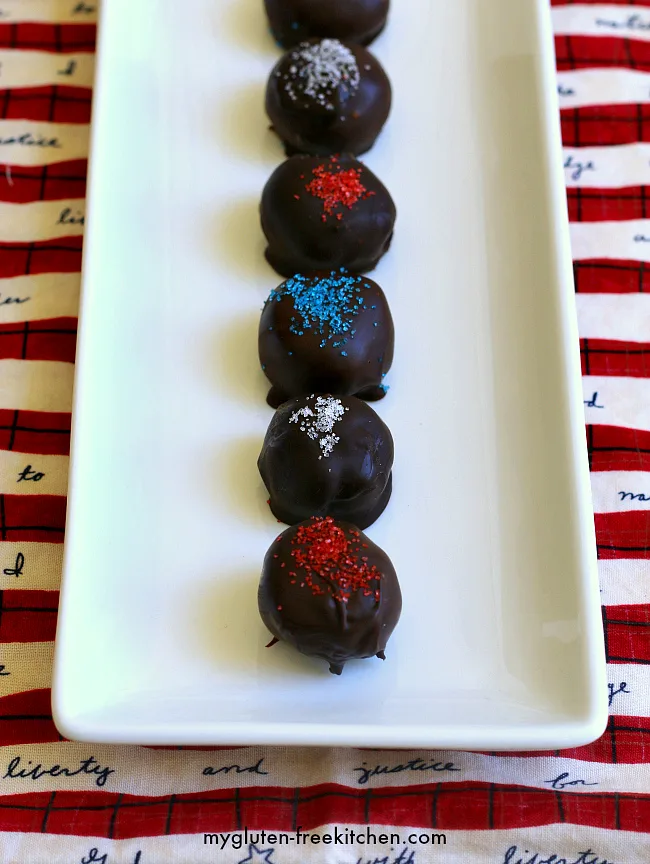
As I peeked in my baking cabinet, I saw my bottles of sanding sugars and had the idea to put a patriotic spin on these! These patriotic brownie balls will be a fun addition to our summer parties and potlucks! I just used colored sanding sugar, but you could also use patriotic themed sprinkles, edible glitter, or just put a swirl of a colored icing on top.
Since I wanted these to be dairy-free too, I decided to partner with Enjoy Life Foods and use their delicious chocolates! The chocolate bars, like all of the products from Enjoy Life Foods, are free of the “top eight” allergens: wheat, dairy, peanuts, tree nuts, egg, soy, fish and shellfish. Products are also made without casein, potato, sesame and sulfites. Of course, important to me is that they are certified gluten-free as well! All of my local grocery stores as well as my local gluten-free specialty store carry their products, so hopefully they’re easy to find in your area as well.
Notes on Ingredients and substitutions for these gluten-free brownie balls:
- If you need to save some time, you can also make the brownie balls with your favorite gluten-free, dairy-free brownie mix. Just make the brownies as directed, but add in the mini chips as called for in my recipe.
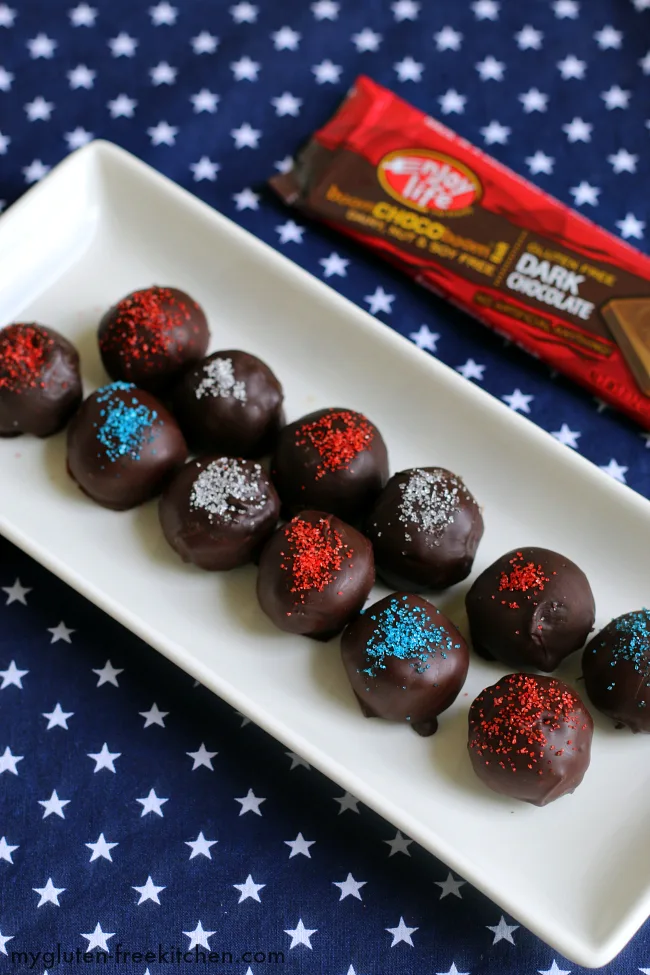
- I used Boom CHOCO Boom Dark Chocolate bars in the brownies and to melt to coat the brownies. You’ll need 6 bars total. You could also use the Boom CHOCO Boom Ricemilk chocolate bars if you prefer milk chocolate over dark chocolate. If you can’t find these bars at your local store, you can follow the links to order online, or feel free to substitute with a comparable amount of Enjoy Life dark chocolate morsels. These bars do melt smoother and stay smoother than working with chocolate chips/morsels.
- To keep these dairy-free, you’ll want to use your favorite oil in the brownies. I didn’t specify a particular oil, since many of you are working with different allergies. I’ve personally tested these so far with vegetable oil, corn oil, and extra light tasting olive oil. I do believe that melted coconut oil would work as well, but I haven’t tested that yet.
- As always, I only recommend baking with a good quality all-purpose gluten-free flour blend. All flour blends are not created equal! I recommend avoiding flour blends that contain any bean flours or that are primarily rice flour, as you’ll get a more gritty result. If it already contains xanthan or guar gum in the flour blend, then omit the xanthan gum called for in the recipe below. I tested with gfJules and also Gluten Free Mama’s almond blend.
- Mini semi-sweet chocolate chips are an important ingredient in the brownies. You’ll roll the brownie balls while the brownies are still warm, and the melty chocolate chips help the balls stick together. I used Enjoy Life Foods dairy-free semi-sweet chocolate mini chips.
- There are many brands of sanding sugars available in grocery stores and hobby/craft stores. I picked these up at Hobby Lobby. Just be sure to double-check the labels for any allergens you need to avoid.
Handy Tools:
- If you don’t already own one, you’ll want to get yourself a small cookie scoop. I use this one that I picked up at Amazon: small cookie scoop.
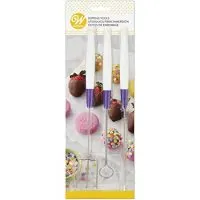
- For dipping the brownie balls, it helps a lot to have these dipping tools. I picked mine up from Amazon as well: dipping tools.
I did my first ever Facebook live video this week, showing how I start making these brownie balls. I was cracking up when I realized afterwards that I’d made the video sideways! 🙂 Oh well, I’m learning. I did get some feedback and will definitely try to go live for Facebook video again in the future! Make sure you are following me on Facebook so you can catch me live or watch replays!
One final note, if you’ll be serving these outside in hot weather, go ahead and keep them chilled in your refrigerator until the last possible moment. You’ll want to have some paper towels or wet wipes handy, but trust me, these are sooooo worth it!
Gluten-free Patriotic Brownie Balls Recipe:
Patriotic Dark Chocolate Brownie Balls {Gluten-free, Dairy-free}
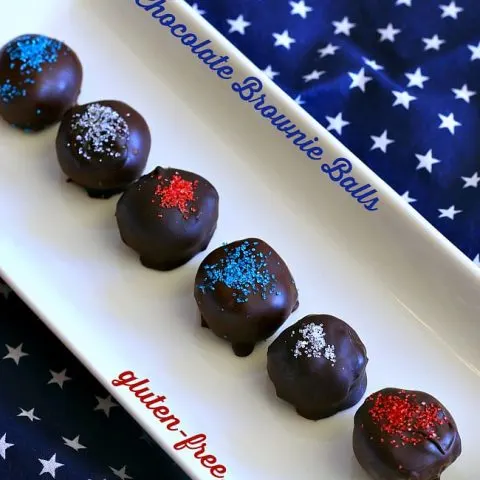
I’ve been making variations of these yummy gluten-free brownie balls for years, but just decided this week to make a dairy-free version with a colorful patriotic theme.
Ingredients
Brownies:
- 1 Tbsp. baking cocoa
- 1/3 cup boiling water
- 2 bars (1.12 oz each) Boom CHOCO Boom Dark Chocolate Bars*
- 2/3 cup oil (vegetable, corn, canola, olive, etc.)
- 1 egg
- 1 egg yolk
- 1 tsp. pure vanilla extract
- 1 cup sugar
- 1 cup good quality gluten-free flour blend
- 1/2 tsp xanthan gum**
- 1/2 tsp. salt
- 1/2 cup dairy-free mini semi-sweet chocolate chips
Dark Chocolate Coating:
- 4 bars (1.12 oz each) Boom CHOCO Boom Dark Chocolate Bars*
- 1/2 tsp. organic shortening
Instructions
- Preheat oven to 350°. Lightly spray an 8x8 baking pan and set aside.
- In a large microwave-safe bowl, whisk cocoa and boiling water together until smooth. Add chocolate bars and whisk until chocolate is melted. If you need to, place the bowl in the microwave in 30 second intervals to help melt the chocolate.
- Whisk in the oil.
- Add egg, egg yolk, and vanilla extract and whisk until smooth. Whisk in sugar until fully incorporated.
- Add flour, xanthan and salt and mix with a rubber spatula until combined. Stir in mini chocolate chips.
- Scrape batter into prepared 8x8 baking pan and bake at 350°. Bake for 30 minutes or until a toothpick inserted halfway between edge and center comes out with a few moist crumbs. Transfer to a cooling rack.
- While brownies cool, line a large cookie sheet or jelly roll pan with wax paper.
- After cooling for 20 minutes, grab a small cookie scoop to use to make brownie balls. Avoiding the firm brownie edges, use the cookie scoop to scoop a ball of baked brownie. Place in the palm of your hand and roll around until it is a full ball shape. Place on the wax paper. Repeat until you've used up almost all of the pan of brownies except the edges. I got 40 balls from my pan of brownies. Place pan of brownie balls in freezer and freeze until firm - about 3 hours, or you can even leave overnight.
- When ready to coat brownie balls with chocolate, remove from freezer, but keep on pan. Melt 4 dark chocolate bars in a small, shallow bowl and whisk in 1/2 teaspoon of organic shortening until shiny and smooth.
- To do each brownie ball, you'll grab it off the wax paper, roll it again in your palms until smooth and round, place in the bowl of melted chocolate. Use dipping tools, or a spoon and fork to help you coat the entire ball, then gently place back on the was lined paper so that the coating sets. Repeat with all of the brownie balls, reheating chocolate as needed and melting additional chocolate if needed.
- Keep an eye on the brownie balls you've already dipped. You want to add the colored sprinkles just when the topping is almost dry. If you add it too soon, the sprinkles just absorb and aren't vibrant or very visible. If you add them too late, they just fall off. Feel free to experiment a bit and you'll get it just right. I had to stop after dipping every 6-10 to add sprinkles. That will vary based on how hot your chocolate is and how hot the room is where you are working.
- Once you've decorated them all, place pan, uncovered, in refrigerator until ready to serve. Can serve chilled or let come to room temperature before serving - they are delicious either way, but a little more messy at room temp!
Notes
*Boom CHOCO Boom Dark Chocolate Bars are made by Enjoy Life Foods. You can also use their ricemilk chocolate bars if you prefer milk chocolate. If you can't find these, you can substitute an equal amount of dark chocolate morsels.
**Omit xanthan gum if your flour blend contains xanthan or guar gum already.
Recommended Products
As an Amazon Associate and member of other affiliate programs, I earn from qualifying purchases.
Other gluten-free recipes for U.S. summer holidays:
This sponsored post was created through my partnership with Enjoy Life Foods. As always, all opinions are my own. Collaborating with brands I love allows me to keep bringing you new and varied recipes! Thanks for your support!




Bethany
Thursday 23rd of June 2016
Yum, yum, yum! Love brownies and dark chocolate!
Ginny
Friday 10th of June 2016
Wow! These are right up my alley. I love EnjoyLife and I really need to also buy those Boom CHOCO Boom Dark Chocolate bars. Guess I'd better buy more than one and make these wonderful brownie balls.
Sarah
Wednesday 8th of June 2016
brownies covered in chocolate? ummm YES!!
jules
Wednesday 8th of June 2016
I watched your FB live video on making these - you did great! And they look SO yummy, Michelle! ~jules
Ashley @ Wishes and Dishes
Wednesday 8th of June 2016
I've done cake balls but never BROWNIE balls before! This is a great idea and so easy, too! I'm going to try them with my niece soon.