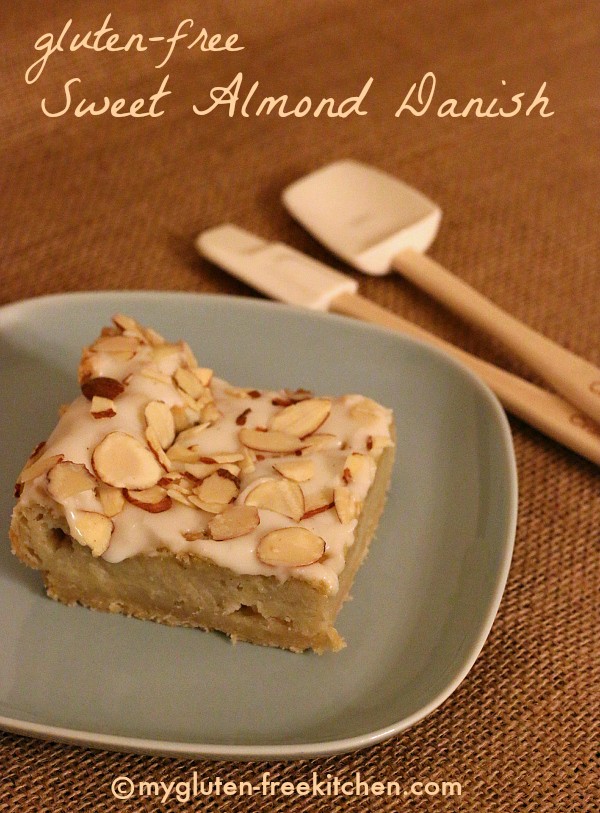
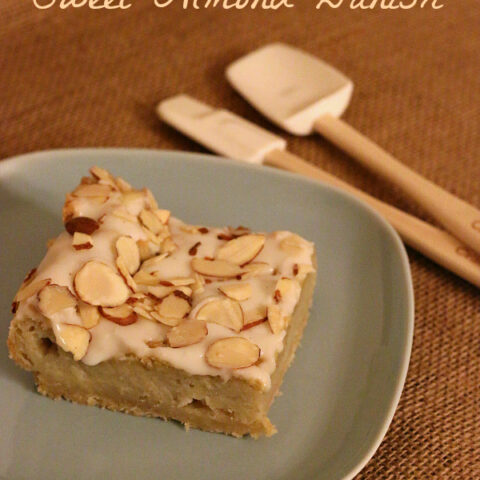
Gluten-free Almond Danish
The flavors of this gluten-free almond danish remind me so much of a bear claw or other danish that I use to enjoy many years ago. I think you’ll love this gluten-free danish pastry recipe as much as I did!
I’ve mentioned before that I’m a cookbook junkie. I check new cookbooks out at the library pretty much every week and my birthday and Christmas lists always have cookbooks listed on them. When a friend lets me know that she’s ready for fellow bloggers to review her cookbook and test a recipe, you can sign me up!
My friend Chandice, of the blog This Vivacious Life is such a sweet gal. We’ve had the chance to meet in person twice, at a couple of gluten-free conventions, but have been friends via social media for quite some time. If you aren’t already following her blog, make sure you head over there. She’s always posting reviews and giveaways, which are a great way to find new gluten-free products to try.
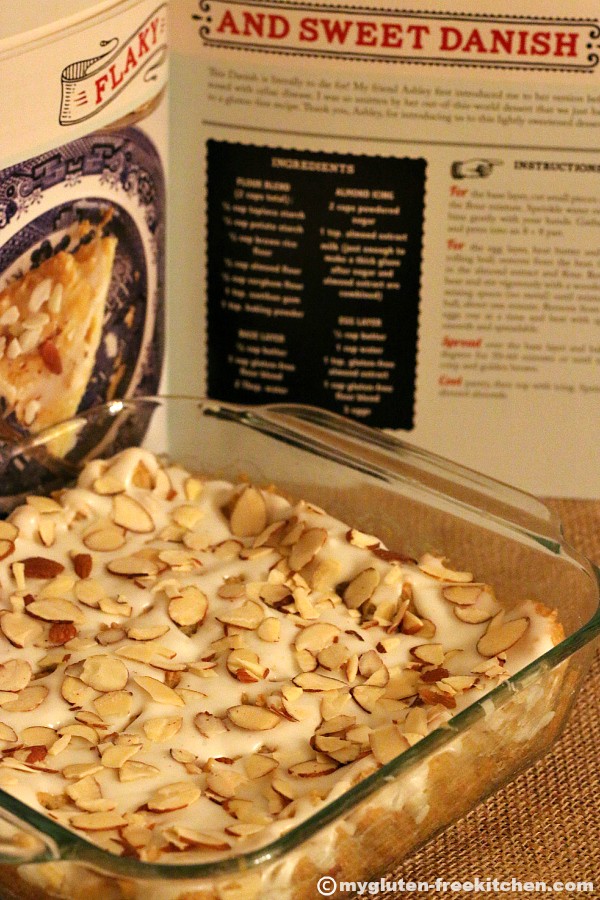
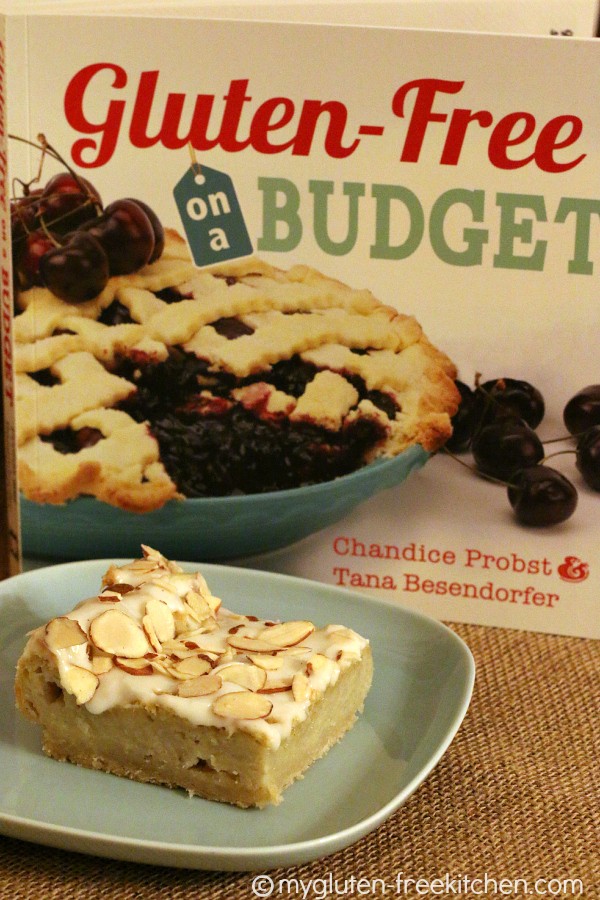
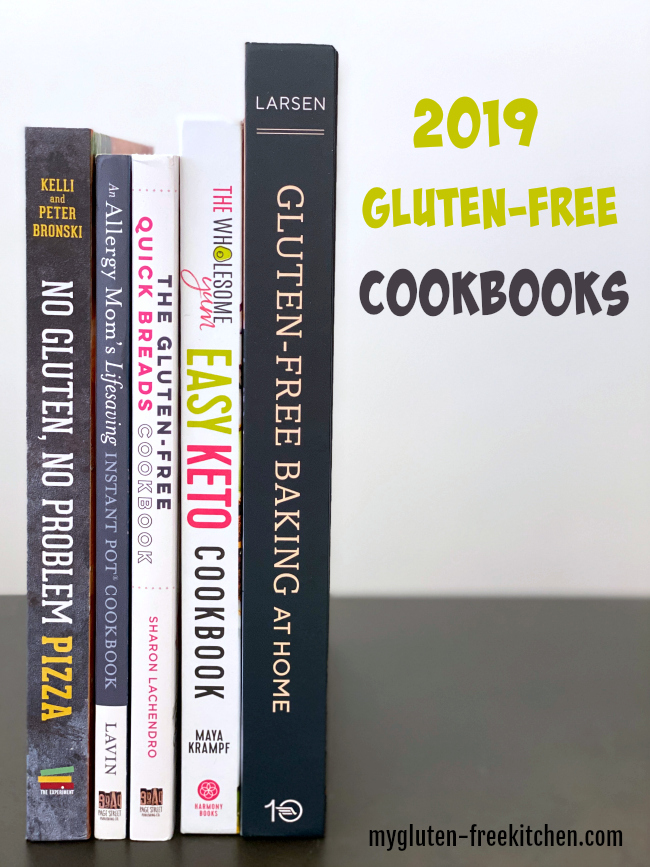
Chandice just released a gluten-free cookbook that she wrote with her mom, Tana, called Gluten-free on a Budget. Full of family friendly meals and sweet treats, the recipes in this are right up my alley! With my handy fluorescent post-it tabs, I’ve already flagged numerous recipes that I want to try, including: Oatmeal Pancakes, Three Cheese White Sauce Lasagna, Navajo Tacos, Oat Bread, and Fluffy Sugar Cookies.
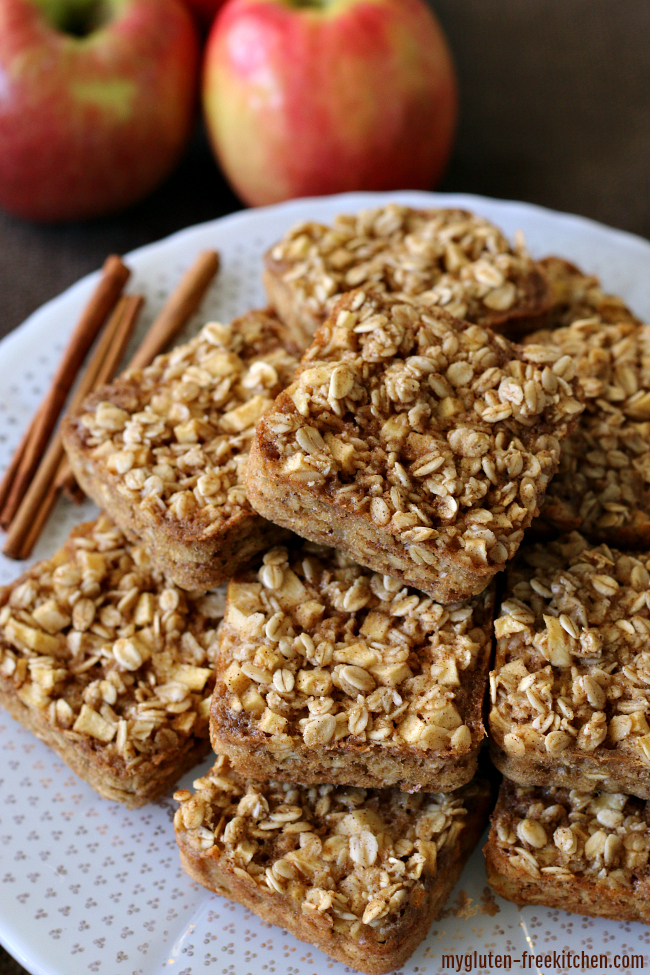
I definitely need to talk about this recipe. This gluten-free sweet almond danish has a flaky bottom crust that blends to a moist, eggy layer, topped with a sweet almond icing and crunchy almond slices. The combination of textures is amazing. I’ll be totally honest with you that I had my doubts while I made this recipe. After baking, the top of the egg layer was crunchy and craggy, but if I looked under it, it was obviously moist and eggy. Hmm. I thought for sure I’d done something wrong.
But I didn’t think Chandice would steer me wrong, so I stuck with following the instructions and let it cool completely (about 2 hours) before drizzling with the almond icing and sprinkling on the almond slices. Here’s a photo so you’ll know how it looked at the just out of the oven stage with the craggy top:
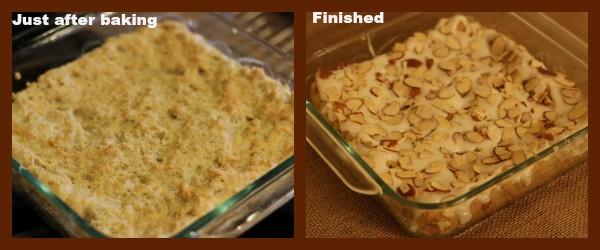
After letting it sit another hour to set, I had my first slice. I moaned, ate another bite and my eyes rolled around. Seriously. I don’t react like that to food very often, but I was just very into this! The flavors reminded me so much of a bear claw or other danish that I use to enjoy many years ago. It has been so long since I tasted something like this!
Again, in the interest of being honest, I let my hubby have one little slice, otherwise the whole 8×8 pan of this danish has been consumed by me. So I can’t even tell you if kids love it, since I was so selfish I didn’t share it with them! I had to hop on the treadmill at 10pm the other night because I’d stuffed myself so full of danish and was feeling guilty!
Unlike most of the recipes I post, this one uses a variety of flours to make up a custom flour blend just for this recipe. Yes, it is more work, but yes it is totally worth it! I will soon try seeing if I can use one of my favorite flour blends to cut down the ingredient list and the work, but haven’t tried that yet so I can’t tell you if it will work. If you have these flours on hand, I definitely recommend making it as written. I already had each of the flours in my freezer, so it wasn’t hard to pull them out for this recipe.
Order your copy of Gluten-Free on a Budget now!
Gluten-free Almond Danish Recipe:
Gluten-free Almond Danish
The flavors of this gluten-free almond danish remind me so much of a bear claw or other danish that I use to enjoy many years ago.
Ingredients
Flour Blend (makes 2 cups total, exactly what is needed for this danish recipe):
- 1/2 cup tapioca starch
- 1/2 cup potato starch
- 1/3 cup brown rice flour
- 1/3 cup almond flour
- 1/3 cup sorghum flour
- 1 tsp. xanthan gum
- 1 tsp. baking powder
Base Layer:
- 1/2 cup salted butter
- 1 cup gluten-free flour blend
- 2-3 Tbsp. water
Egg Layer:
- 1/2 cup salted butter
- 1 cup water
- 1 tsp. almond extract
- 1 cup gluten-free flour blend
- 3 eggs
Almond Icing:
- 2 cups powdered sugar
- 1 tsp. almond extract
- 2 Tbsp. milk
- 1/4 cup sliced almonds
Instructions
- Preheat the oven to 350°.
For the base layer:
- Put 1 cup of the flour blend into a bowl. Cut in the 1/2 cup butter. I used a pastry cutter for this but you could use two knives also.
- Sprinkle water over and combine gently with your hands until you can gather the dough together. (*Note: Chandice's recipe calls for 2 tablespoons of water, but I found I needed 3 in order to get mine to come together. Humidity where you live can definitely affect this.)
- Press the dough into the bottom of an ungreased 8x8 square pan. I used a square Pyrex pan.
For the egg layer:
- In a medium saucepan, heat butter and water to a rolling boil; remove from heat.
- Quickly stir in the almond extract and flour.
- Return to low heat and stir vigorously with a wooden or plastic mixing spoon (no metal) until mixture forms into a ball. (This took me less than a minute.) Remove from heat.
- Add eggs one at a time and beat with a spoon until well mixed and of a spreadable consistency. (Batter will be thick and craggy.)
- Spread batter over the base layer. Place in preheated oven and bake at 350° for 50-60 minutes, or until top is crisp and golden brown.
- Let cool completely, about 2 hours.
Icing:
- In a small bowl, whisk together powdered sugar, almond extract and milk until you have a smooth, thick glaze that you can pour out. Drizzle over baked and cooled pastry, almost covering the whole surface.
- Sprinkle with sliced almonds. Let icing set completely before cutting, about 30 mintues to an hour.
- Best eaten on same day, served at room temperature. Enjoy!
Notes
If you want to make ahead, I think the best option would be to do the baking the night before but wait to add the icing and almonds until morning, about a half hour or hour before serving.
Recipe from Gluten-free on a Budget cookbook, by Chandice Probst & Tana Besendorfer. Used with permission. I've made some minor adaptations and clarifications to instructions.
I hope you and your family enjoy this gluten-free danish as much as I did!

I’ve been looking for a gluten free Danish recipe. I have one that uses regular flour that follows the same procedure. Except after the water/butter comes to a boil, I add 1 cup flour. You noted only to add 3/4 cup flour. It’s not to gooey?
Have you tried this recipe with any of your usual flour blends yet?
This recipe is awesome good! I am going to have a hard time refraining from eating the entire pan.
I love danishes and this recipe looks great! Thanks for linking it up to Gluten Free Wednesdays 🙂
-Cassidy
Looks like a great cook book to use! good luck all
This looks really good! I am allergic to eggs, however. Do you think an egg replacement or perhaps gelatin would work? I really want to try it!
That danish looks fantastic!
I definitely need to try this. And perhaps bring it to a meeting so I don’t eat it all. I have little to no willpower.
Yum! Going shopping tomorrow for the ingredients to try this!
I never was a big sweet roll fan but these do look good.
Looking forward to trying this recipe! Thanks for sharing. 🙂
Given the sticker shock we got when my daughter was diagnosed with Celiac disease, I would love to see a cookbook about feeding her on a budget. And I simply love cookbooks. I have hundreds.
Love your blog and would love to win a copy of your book. Thanks for all your insightful comments and helpful attitude.
I follow Gluten free Frenzy and really enjoy her blogs can’t wait to try the danish they do look great.
I would love to see what gf options she has since I am not that creative!
I am new to living gluten free so I have a lot to learn. I am also semi retired so least to say on a budget. Thank you for a very informative site. Love the recipes.
Oh, my gosh, this Danish looks just delish. I will have to make this!
This looks like a cookbook I would use a lot!
This danish recipe looks AMAZING! I cannot wait to try it out! 🙂