Perfect for holiday parties and cookie trays, these bite-sized gluten-free peanut butter chocolate cookie cups will be a hit! These gluten-free peanut butter cookie cups are sponsored by Enjoy Life Foods.
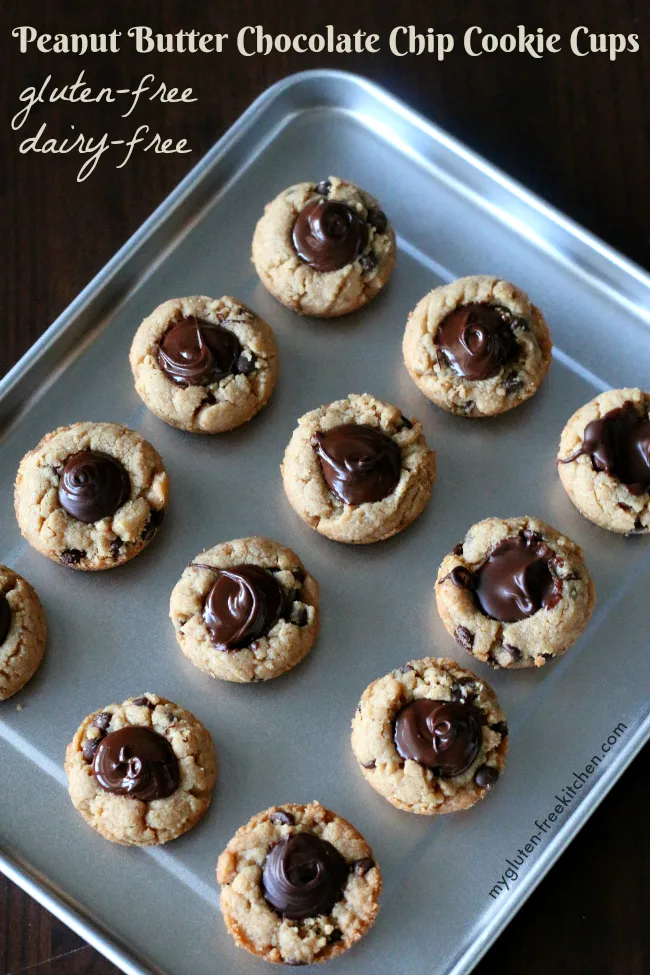
You know I love chocolate and peanut butter together, like many of you do! So when I was thinking about a new treat to include on holiday cookie trays that I bring to parties or give to neighbors, I wanted to make something with this combo.
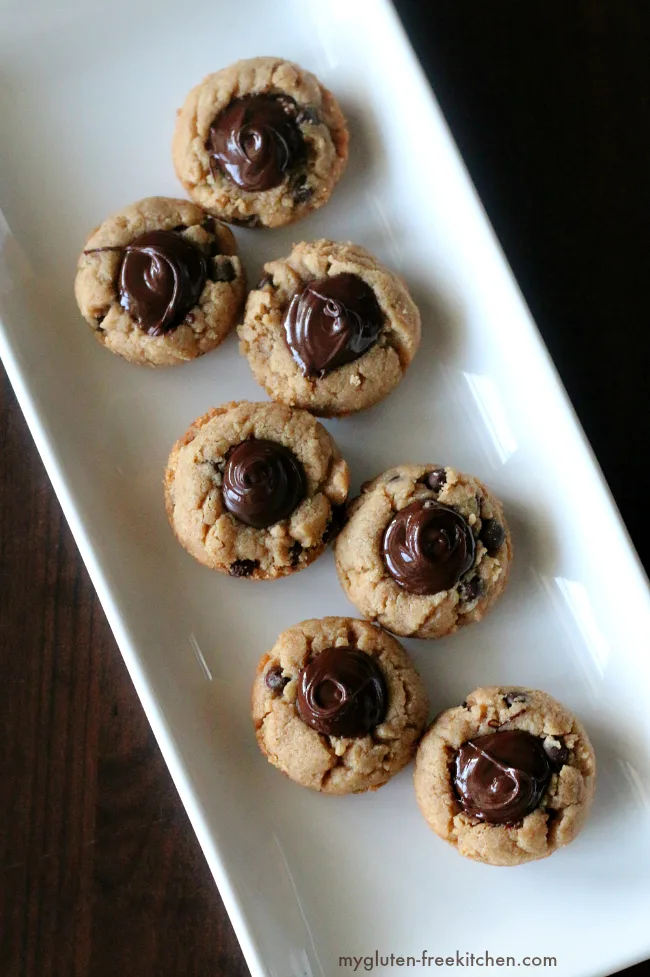
I took my favorite gluten-free peanut butter cookies and did some tweaking to turn them into peanut butter cookie cups. Then I melted Enjoy Life semi-sweet chocolate chips to fill them with that extra chocolatey goodness!
These are similar to gluten-free peanut butter blossoms – except extra chocolatey with the addition of chocolate chips in the cookies and richer semi-sweet chocolate for the filling instead of a milk chocolate kiss. Plus, unlike those popular peanut butter blossoms that are usually on cookie trays, these are gluten-free AND dairy-free!
Notes on other ingredients for these gluten-free peanut butter cookie cups:
- I’ve tested this with multiple gluten-free flour blends and did not need to use a binder like guar gum or xanthan gum in this recipe whether the flour blend had it already or not. The peanut butter really helps hold it together, as does the egg. If you make this with a different flour blend and the dough seems way too crumbly and won’t stay together, then I’d suggest adding 1/2 teaspoon of guar or xanthan gum.
- While I used peanut butter in mine, you could definitely use almond butter if you have peanut allergies, or sunflower seed butter if you have peanut and nut allergies. All would be an equal swap in this recipe.
- I recommend using mini semi-sweet chocolate chips in these since you’ll be mixing some in the cookies and melting more for the filling. I use Enjoy Life semi-sweet mini chips since they are certified gluten-free as well as dairy-free. Love them!
- To give some shine to the chocolate filling, you’ll mix just a bit of organic shortening or coconut oil in with the chocolate chips while melting. Totally fine if you omit it, but you’ll just have a more dull look to the chocolate.
While I don’t always do this, I thought I’d include a few how-to pics for this recipe for those of you that are visual learners!
How to make these gluten-free peanut butter cookie cups:
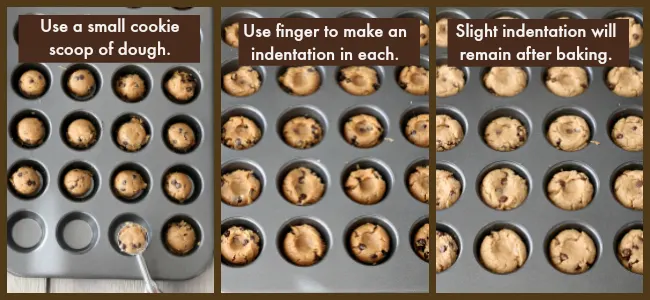
After you mix up the cookie dough then you’ll follow the steps in this photo to make the cookie cups in a mini muffin tin:
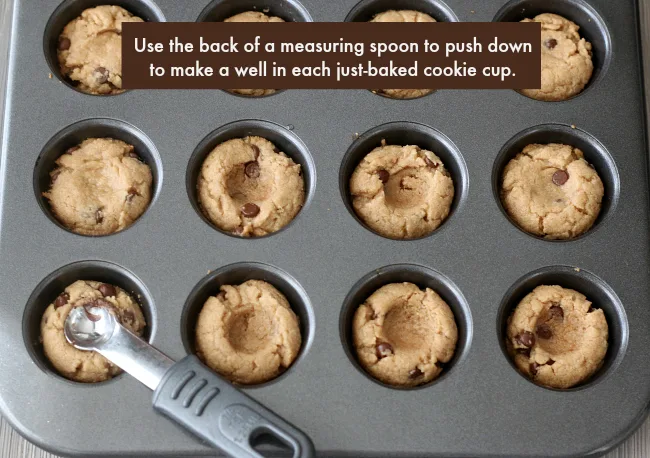
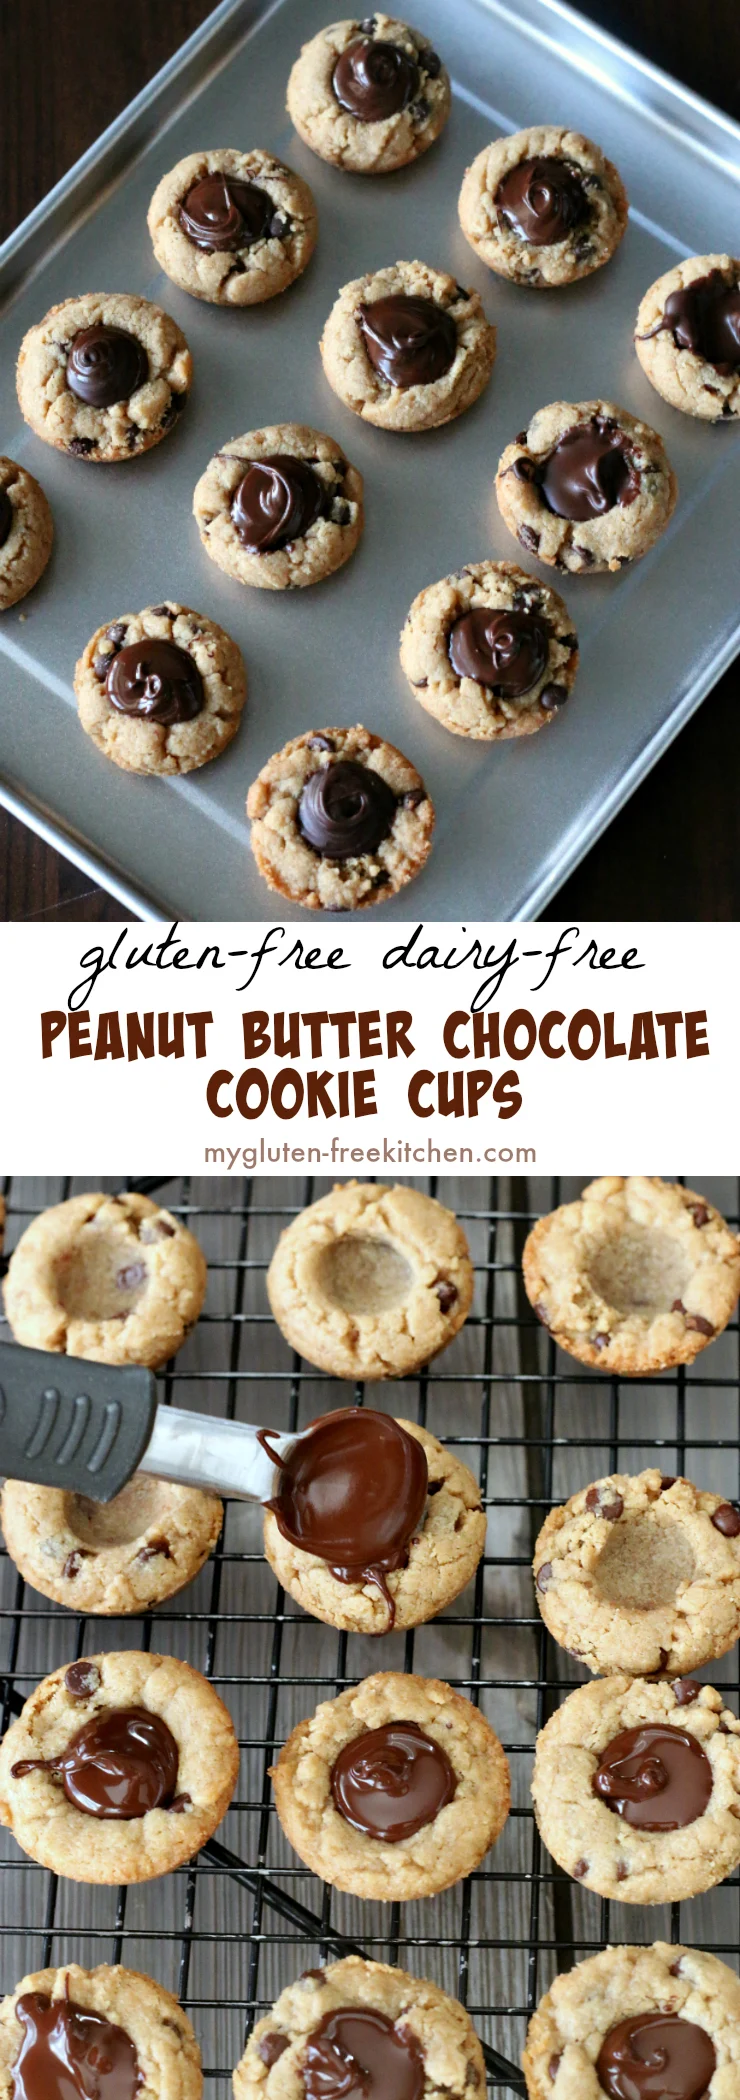
When the cookie cups come out of the oven, they’ll have a slight indentation in them still. You’ll then grab a little measuring spoon and push down right in the center of each hot cookie, pressing down so that you make little cookie cups! I used a 1/4 teaspoon round measuring spoon and found it a great size to work with.
After the cookies cool completely in the mini muffin pan, you’ll remove them to a cooling rack and then work on the filling. You’ll melt the semi-sweet chocolate chips along with a little shortening or coconut oil. Then just grab a 1/2 teaspoon measuring spoon to use to fill the cookie cups with the melted chocolate mixture.
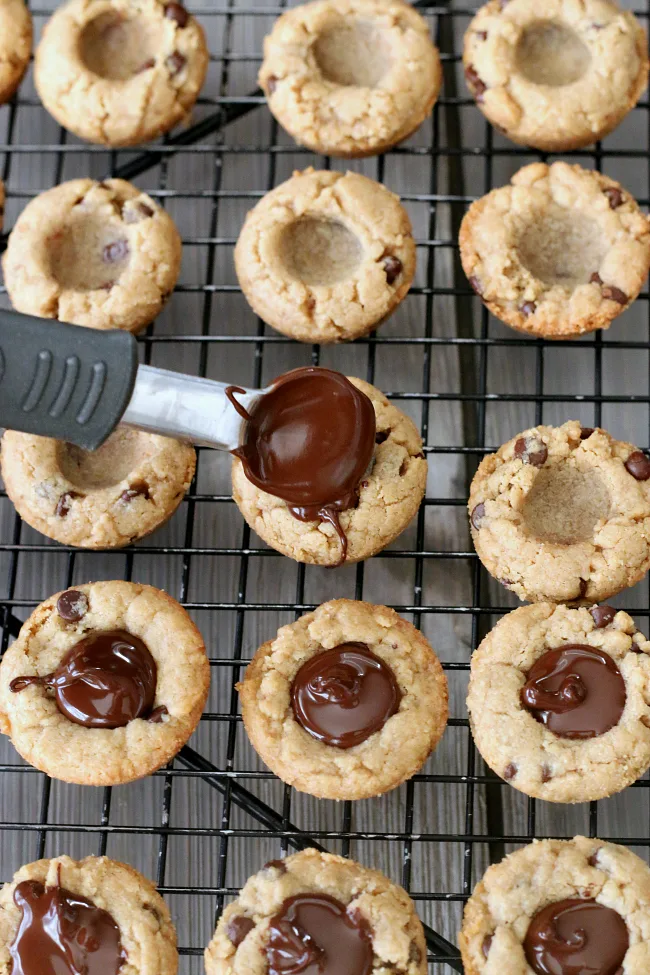
The chocolate sets nicely so these do become a good sturdy cookie that is even suitable for shipping! I’m sure you can think of someone that would love to receive these in the mail at Christmastime!
My other favorite things to make for Christmas cookie trays include these gluten-free gingerbread cookies and my homemade caramels.
Gluten-free Peanut Butter Cookie Cups Recipe:
Gluten-free Peanut Butter Chocolate Cookie Cups
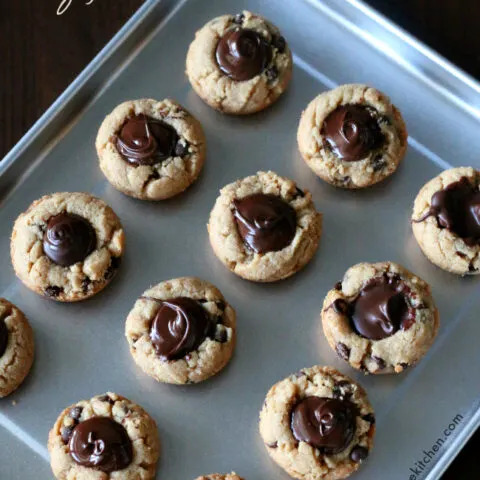
Perfect for holiday cookie gifts! Gluten-free and dairy-free and you can easily swap the peanut butter for a nut butter or seed butter! These are like gluten-free peanut butter blossoms only better!
Ingredients
Cookies:
- 1/2 cup plus 2 Tbsp. gluten-free all-purpose flour
- 1/2 tsp. baking soda
- 1/4 tsp. baking powder
- 1/4 tsp. salt
- 1/4 cup organic vegetable shortening or coconut oil
- 2/3 cup creamy peanut butter or almond butter or sunflower seed butter
- 6 Tbsp. sugar
- 1/4 cup brown sugar
- 1 egg
- 1 1/2 tsp. non-dairy milk
- 1 tsp. pure vanilla extract
- 1/3 c. Enjoy Life semi-sweet mini chocolate chips
Filling:
- 3/4 cup Enjoy Life semi-sweet mini chocolate chips
- 1/2 tsp. organic vegetable shortening or coconut oil
Instructions
- Lightly spray cavities of a mini muffin pan with nonstick cooking spray. Set aside. Preheat oven to 350°.
- In a large bowl, whisk together the gluten-free flour, baking soda, baking powder and salt. Set aside.
- In the bowl of your electric mixer, beat the butter and peanut butter until fluffy. Add the sugars and beat until smooth. Add the egg and mix well. Add the non-dairy milk and vanilla extract and mix well.
- Add the flour mixture and beat thoroughly until all mixed in.
- Stir in the 1/3 cup of Enjoy Life semi-sweet mini chocolate chips.
- Use a small cookie scoop to scoop a small ball of cookie dough into each muffin cavity. After you fill them all, use your finger or thumb to gently press down in center of each ball to create a bit of an indentation.
- Bake at 350° for 9 minutes. After removing from oven, keep the cookies in the pan, but use a small measuring spoon (I used a round 1/4 teaspoon) to push down the center of each cookie to make a well for the chocolate to go in.
- Let cool in pan for 10-15 minutes. Then gently remove from pan onto cooling rack.
- In a small glass bowl, add 3/4 cup Enjoy Life semi-sweet chocolate chips and 1/2 teaspoon organic vegetable shortening or coconut oil and microwave for 30 seconds. Whisk together and repeat microwaving in 30 second increments, whisking in between, until mixture is melted, smooth, and shiny.
- Use a 1/2 teaspoon or 1 teaspoon measuring spoon to help spoon melted chocolate into each cookie cup. Fill to your preference - I filled about flush with top of cookie.
Notes
I did not find the need to use any binders/gums in this recipe.
I always recommend doing 1-2 cookies in the oven first as a test, then you can adjust things like temperature, size of dough, etc as needed.
Recommended Products
As an Amazon Associate and member of other affiliate programs, I earn from qualifying purchases.
This sponsored post was created through my partnership with Enjoy Life Foods. As always, all opinions are my own. Collaborating with brands I love allows me to keep bringing you new and varied recipes! Thanks for your support!



Nancy
Monday 31st of December 2018
Your recipe says beat the butter and peanut butter. Shouldn’t it say butter. Shouldn’t peanut butter and coconut oil?
These are delicious. I make 12 using the regular size muffin pan.
Mia
Monday 8th of May 2017
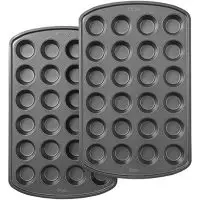
If you don't have a mini muffin pan, will a cookie sheet work? Do these spread?