The most requested Christmas gift from me every year is these homemade gluten-free salted caramels! They’re worth the effort as they’re far better than any store bought caramels that I’ve ever bought! Plus, when you make it yourself, you can be sure to make your caramel gluten-free!
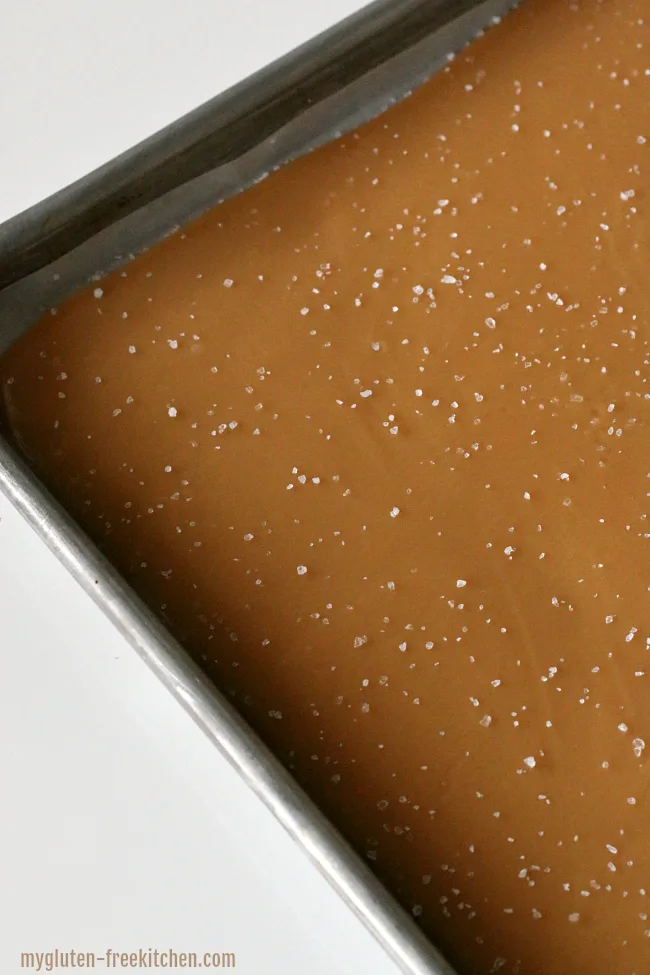
Rich and buttery, the sweetness of these caramels is perfectly complemented by the sprinkling of sea salt on top.
These are quite possibly the most addictive thing I make. I have a really hard time just eating one of these homemade salted caramels! Good thing I make these to give away at Christmas time, because I would eat way too many otherwise.
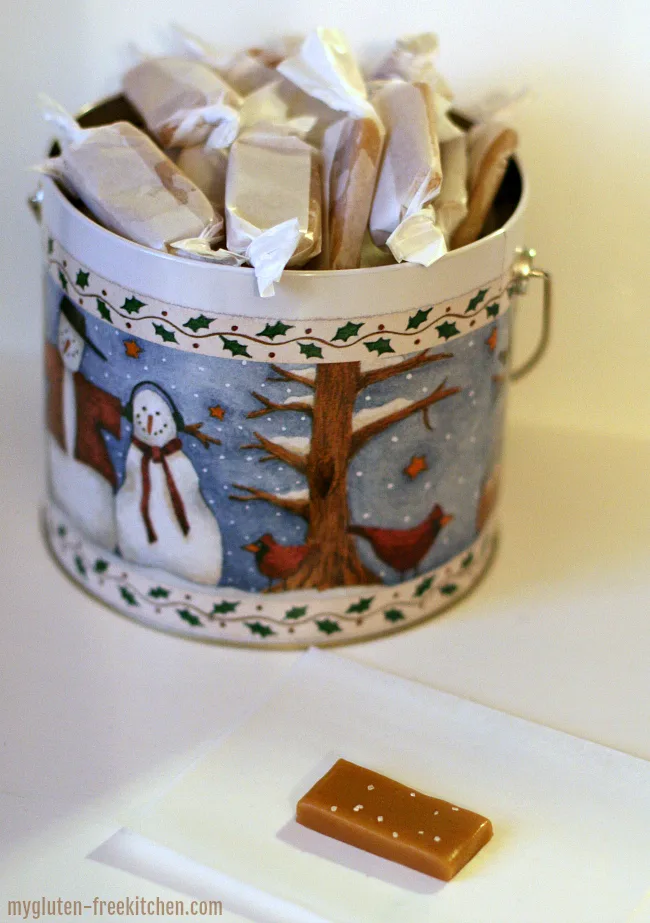
It is a definite labor of love to make these caramels. While the ingredients list is simple, they are very labor intensive.
You will be standing over a hot pot, stirring constantly for 30 minutes to an hour. Then you’ll be cutting and individually wrapping caramels for possibly another hour.
However, you get at least 100 caramels from one batch, so you’ll be able to package up these up for a delicious homemade gift that your family, friends, neighbors, teachers, or co-workers will love!
Here are my tips on making homemade salted caramels successfully:
- You MUST have a candy thermometer to make these. Please don’t ask me if you can make these without one!
- You MUST calibrate your candy thermometer. See a tutorial on how to do this here. You will get entirely different results if you cook these even one degree too low or too high.
- Before you get started, make sure the pot you grab is the right size for your candy thermometer to clip on and reach nearly the bottom of the pan. I kick myself every time I accidentally grab my tallest pot and then have to hold the candy thermometer the whole time instead of clipping it on!
- Do NOT walk away during the stirring process for more than a few seconds. You really don’t want some of this to burn on the pan.
- Your arm and shoulder will get really tired. I suggest making these with a friend so you can take turns stirring.
- Do line your jelly roll pan with parchment paper. This eliminates the need for spraying the pans and ending up with oily caramels. You’ll only spray the sides of the pan where the parchment doesn’t cover. Don’t substitute wax paper or aluminum foil for this.
- For rolling the caramels, you can buy wax paper and cut it up into squares, but I highly recommend you buy pre-cut wax paper. This is what I use: Twisting Wax Paper. I buy them on Amazon and at Hobby Lobby (when they aren’t sold out!)
- Practice does make perfect. While I hope my tips help you have a successful first batch, candy making is finicky and I still mess up batches here and there. I’m getting better and better the more I make these. Your first batch might be a little too soft or too hard, but you can learn from that and get the second batch just right!
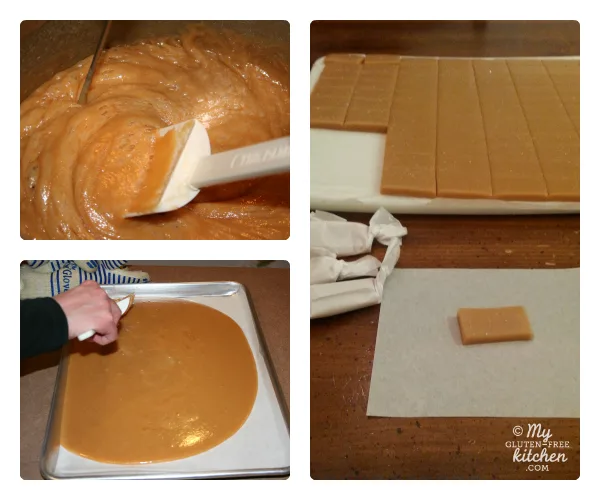
After the caramels have set and cooled completely in the pan, I remove from the pan by lifting up the parchment paper and moving it onto a large cutting board (with the parchment paper still). Then I use a pizza cutter to slice the caramels to the size I want.
How big should you cut homemade caramels?
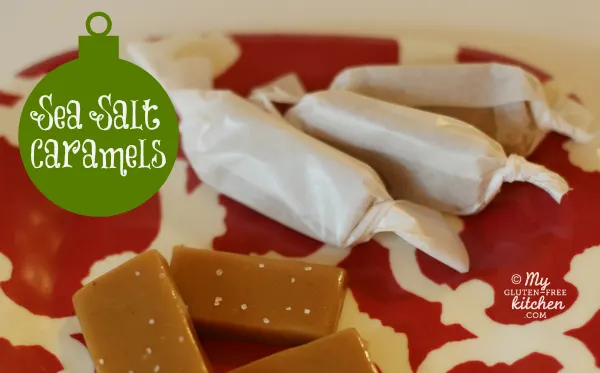
The choice is yours! I’ve done small squares, but that ends up being a lot of wrapping and requires more of the wax paper. I’ve done big rectangles too! Now I do a medium sized rectangle. One pan of these ends up yielding me 115-120 of caramels this size that you see in my photos.
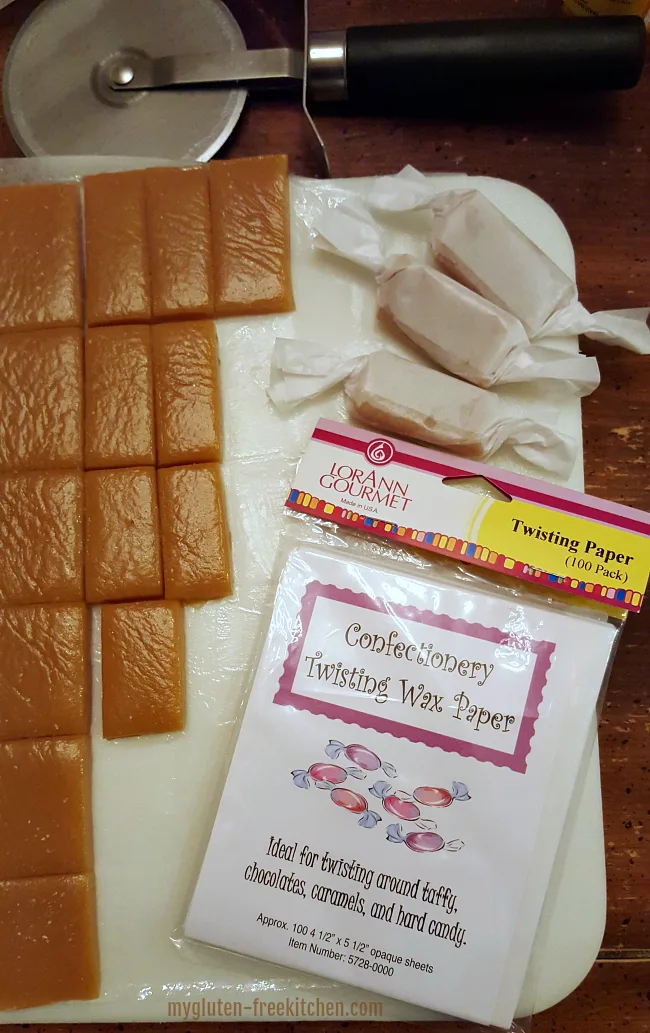
Hopefully my tips and photos help, but please do let me know if you have any questions! These are worth the work and the sore arms!
Is Caramel Gluten-free?
Caramel SHOULD be gluten-free, but as with anything, people will sometimes add things you aren’t expecting. I was once glutened badly after having caramel sauce that I was told was gluten-free. When I ordered a jar of it to go, I got it back to the hotel and read the ingredients and found that they add flour to their caramel to thicken it! Who does that? Ugh, people do!
Additionally, many of the places that make caramels also make products dipped in caramel like pretzels, so there is a high risk of cross-contact with gluten. So I always make my own so I don’t have to worry about hidden ingredients or cross-contamination, and can be sure my caramel doesn’t have any gluten in it.
Just a note to the “corn syrup police” and the “too much sugar police”… move on! This is not a recipe for you! However, if you’re like me and you believe that most things are okay in moderation (except gluten, of course), then you’ll love this homemade caramels recipe.
Plus, it isn’t like anyone is actually going to eat the whole pan of caramels! I’m not advocating that! Make them and hand them out, and you’ll have people begging for you to make these every year!
If you like these and you’d like a softer version to enjoy over ice cream sundaes or brownies, make my gluten-free caramel sauce.
If you love caramel corn, be sure to try my friend Erin’s best caramel corn recipe!
Some other fun things to make for the holidays include this Hannakuh Candy. And I love this gluten-free pretzel bark. Every Christmas, I show up at a party with this gluten-free brownie trifle and these gluten-free gingersnaps too!
Homemade Caramel Recipe:
Homemade Caramels {gluten-free}
These gluten-free homemade caramels are perfect to make and gift to friends and neighbors for Christmas.
Ingredients
- 2 cups sugar
- 1 cup brown sugar
- 3/4 cup Karo light corn syrup
- 1 cup evaporated milk (note: this is NOT a full can)
- 1 pint (2 cups) heavy whipping cream
- 1 cup unsalted butter (=2 sticks or 16 Tbsp.)
- 1 tsp. sea salt
- 1 tsp. pure vanilla extract
Instructions
- First calibrate your thermometer by placing in boiling water for 10 minutes. It should read 212°. If it doesn't, adjust your goal temperature for this recipe based on how many degrees you are off. For instance, my thermometer always registers 210°, so I cook my caramel until it reaches 246° instead of 248° like the recipe calls for.
- Line a jelly roll pan (11"x15") with parchment paper and lightly spray or butter the sides where the parchment paper doesn't cover.
- In a large pot, combine the sugar, brown sugar, corn syrup, evaporated milk, whipping cream, butter, and sea salt. Cook over medium heat, stirring constantly with a rubber spatula. I cook over the largest burner on my gas stove on a heat setting of 4. Be sure that you are constantly scraping the sides, edges, and bottom of the pan, and do not leave unattended for more than a couple of seconds.
- Continue stirring, monitoring the temperature with a candy thermometer, until thermometer reaches 248°. The temperature reading will probably bounce up and down a bit, so I recommend stopping once you get three readings of 248°. On my gas stove, this takes me about 30-40 minutes; on my electric stove, this took closer to an hour.
- When it reaches 248°, remove immediately from heat, remove the candy thermometer, and quickly stir in the vanilla extract.
- Immediately pour out the caramel into the lined jelly roll pan. Spread evenly with your spatula.
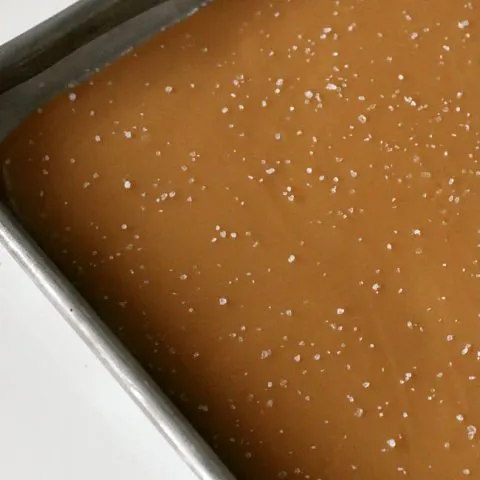
- Wait 10 minutes, then sprinkle the surface of the caramels with large flake sea salt to your liking. If you sprinkle too soon, the salt just soaks in, too late, and it has trouble sticking to the surface.
- When cooled completely, it is easy to lift out the parchment paper with the whole slab of caramel on it and place on a cutting board. I recommend using a sharp pizza cutter to cut into square or rectangle caramels. I usually do rectangles that are 1" x 2" and can get about 100 caramels, leaving us the edges to snack on.
- Store at room temperature. If you allow these to chill or freeze, they will harden.
Notes
Be sure that your candy thermometer isn't actually touching the bottom of the pan, or you will get a skewed reading. I keep mine about 1/4" above the bottom of the pan.
Practice does make perfect. While I hope my tips help you have a successful first batch, candy making is finicky and I still mess up batches here and there. I've getting better and better the more I make these. Your first batch might be a little too soft or too hard, but you can learn from that and get the second batch just right!
Recommended Products
As an Amazon Associate and member of other affiliate programs, I earn from qualifying purchases.
I hope you and your family and friends enjoy these gf caramels as much as my family does!


Carol
Saturday 12th of February 2022
I made these with a friend this week and it was great to share the stirring responsibilities. We wondered if we were doing something wrong because the thermometer hit 210 and then sat there for a long time. Once the water was boiled out it climbed very quickly! With my gas stove it took about 45 minutes. These caramels are so delicious, perfect for Valentine's Day! Thanks for another great recipe!❤
Janice
Saturday 28th of November 2020
We have corn allergies in our house as well as gluten. Any suggestions on substitutes? Have they been tried and tested? Hubby is also not supposed to have dairy. The poor guy cant eat much of anything....Would this work with coconut cream? Thanks
Michelle Palin ~ My Gluten-free Kitchen
Thursday 3rd of December 2020
Sorry Janice, I've only made these as written. I would suggest looking for a dairy-free caramel recipe instead, and then that should give you a good starting point.
Vickie
Wednesday 26th of February 2020
I'm looking forward to testing this recipe before I make them for a baby shower. I am doing a woodland theme and saw someone used Werthers soft caramels to make "acorns" (Hershey kiss with a caramel wrapped on the bottom to look like the shell) but Werthers are not GF. If this first batch turns out I will use this to make my "acorns ". Fingers crossed. By the way what candy thermometer do you use? Thanks.
Stephanie
Sunday 15th of December 2019
I love these caramels! The batch I made last year got too hard so I couldn't give away for fear of a dentist bill from friends. However, this year, they are perfect. I have received rave reviews a couple of times from the same person who just can't say enough about how good they are. I love you my friend and appreciate all the work you put into your recipes so the rest of us don't have to!
Donna
Wednesday 9th of October 2019
Sound delicious. I love Carmels !!! I usually make them every Christmas. I will try this recipe this year.