
Gluten-free Buckeye Brownies
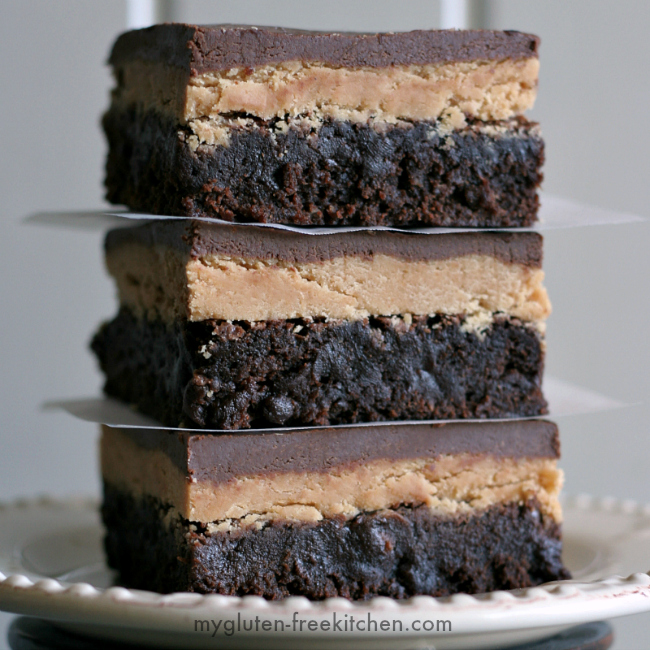
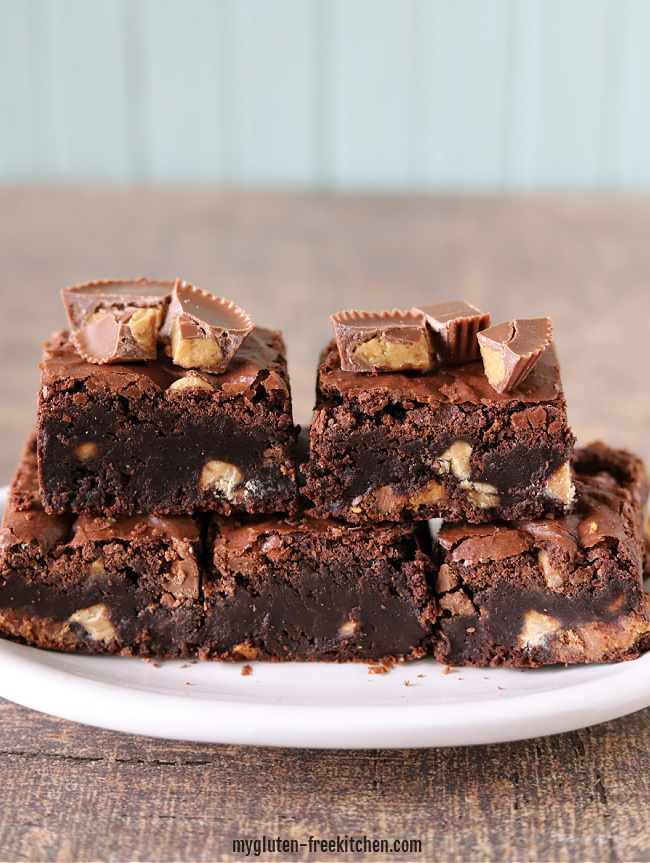
A chewy, fudgy gluten-free brownie gets topped by a creamy peanut butter layer, then glazed with a smooth layer of dark chocolate for an amazing dessert. Gluten-free buckeye brownies taste like a brownie and a Reese’s peanut butter cup together!
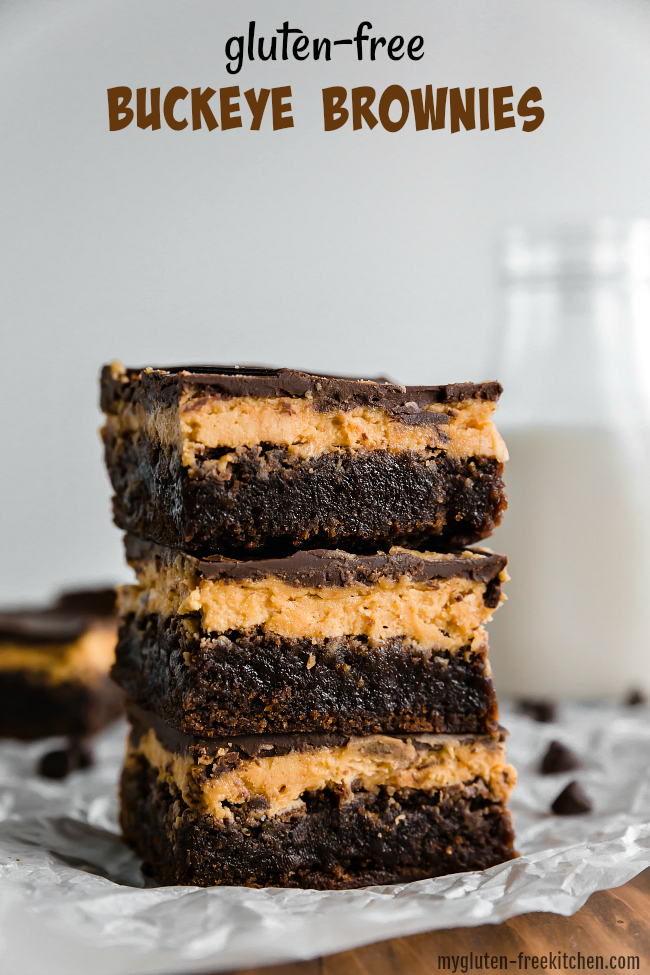
If you love those little treats called Buckeyes that so many people make at Christmas, you are going to love these gluten-free buckeye brownies!
When I saw these buckeye brownies over at the blog Brown Eyed Baker, I knew I had to make this Buckeye Brownie recipe gluten-free. I noticed right away that she uses an adapted version of the yummy America’s Test Kitchen brownies, just like I do for my gluten-free Chewy Brownies. That made this super easy as I could just use my gluten-free brownie recipe as the base, since I’ve already perfected it.
I’ve made these multiple times now and believe these are the best Buckeye Brownies!
I followed Brown Eyed Baker’s recipe for the filling, except that I opted for half & half to bump up the richness.
Ingredients for Gluten-free Buckeye Brownies:
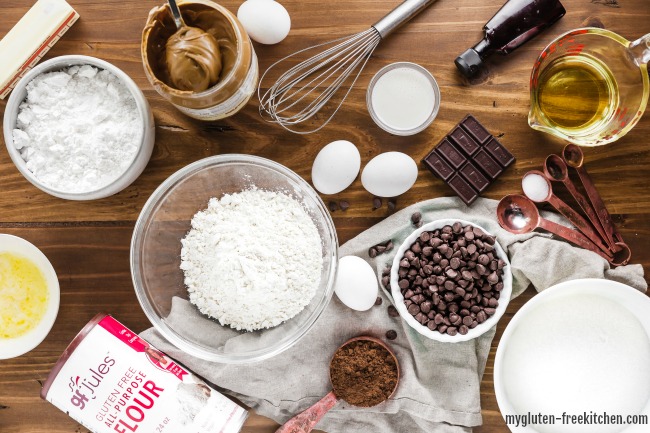
- Peanut Butter: Use a creamy peanut butter. I almost always use Jif Natural Creamy.
- Gluten-free Flour Blend: While most of the time I make these with gfJules flour blend, I have also tested this recipe with Gluten Free Mama’s All-purpose Almond Blend Flour
 and with King Arthur Measure for Measure blend and they always turn out perfect!
 - For the chocolate-peanut butter glaze, I choose to go with a darker chocolate by using semi-sweet chocolate chips. If you’d prefer, you can use milk chocolate chips.
 and with King Arthur Measure for Measure blend and they always turn out perfect!
How to make gluten-free Buckeye Brownies:
There are three layers to these Buckeye brownies. You’ll need to allow time for baking and cooling, then adding two layers and chilling before cutting. So make these early in the day you need them, or the day before.
First you’ll make the gluten-free brownie layer:
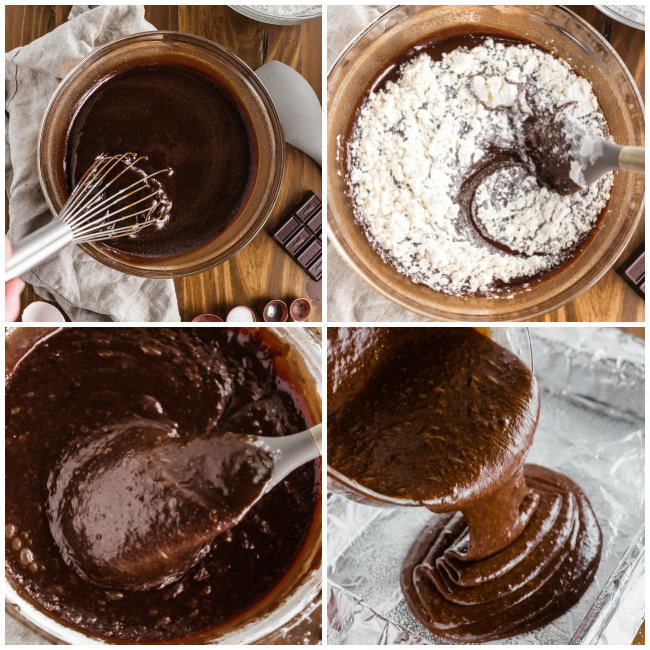
Next you bake that brownie layer and let it cool for one hour.
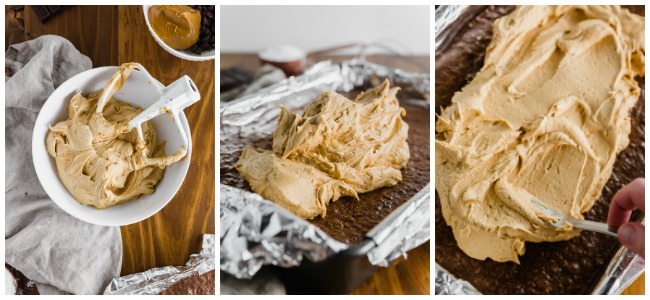
Then you’ll make the peanut butter layer and spread on top of the baked brownies.
The peanut butter layer is made by beating together peanut butter, unsalted butter, and salt and then adding powdered sugar, half and half, and vanilla extract.
Finally, you’ll make the peanut butter and chocolate glaze that goes on top.
This glaze is made by simply melting chocolate chips and peanut butter together in the microwave and stirring until smooth.
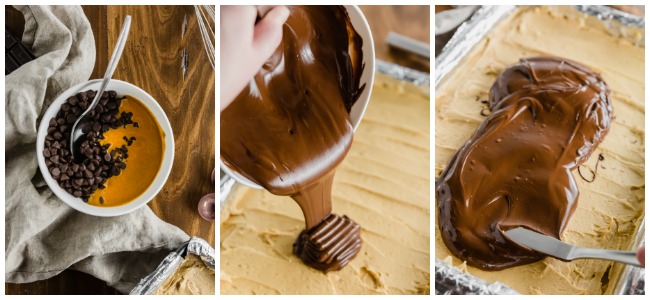 After you spread the peanut butter chocolate glaze on the brownies, I recommend placing the pan of finished gluten-free buckeye brownies in a refrigerator so they can set up before cutting.
These are great at room temperature but are even more fudgy when chilled.
They cut very nicely too once they’re chilled.
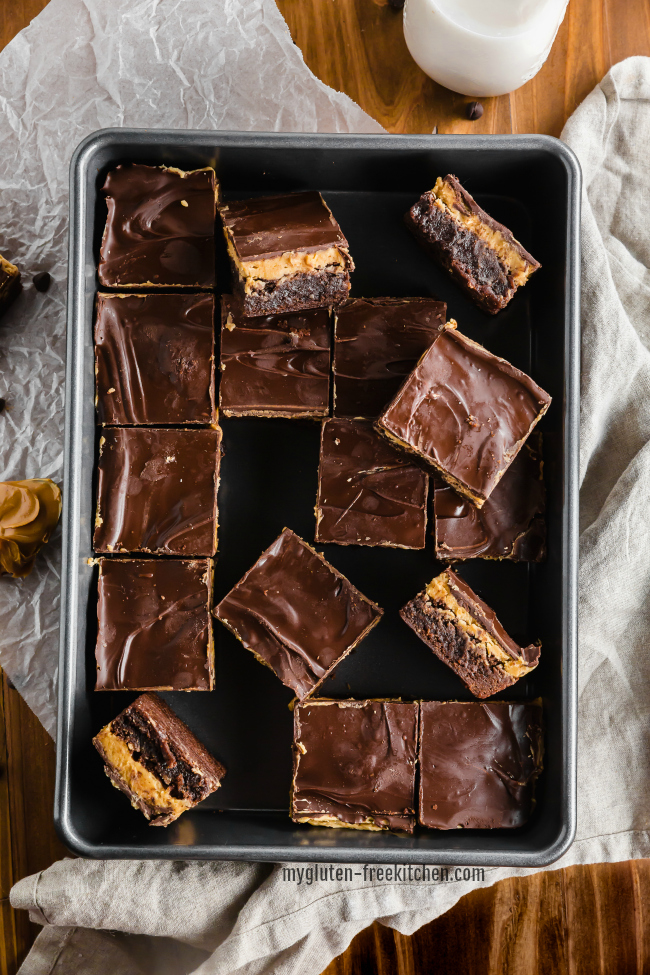
I’m starting to think I might just need to add a whole page category on here just for all of my recipes that use chocolate and peanut butter. I just can’t get enough of that combo. I hope you all like that flavor combo as much as me! If you do, be sure to check out my gluten-free peanut butter pie recipe too!
Also try these gluten-free peanut butter butterscotch cookies are so good if you love peanut butter, butterscotch and chocolate.
If you make these and love them, please come back and give this recipe a 5 star rating in the recipe card! Feel free to comment with tips or to share any successful substitutions you made.
Gluten-free Buckeye Brownie Recipe:
Gluten-free Buckeye Brownies
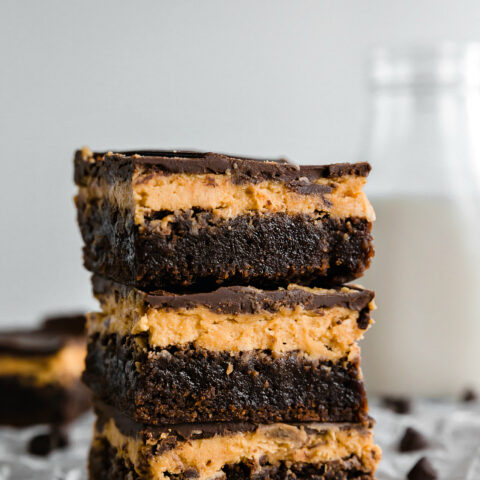
A chewy, fudgy gluten-free brownie gets topped by a creamy peanut butter layer, then glazed with a smooth layer of dark chocolate to make these gluten-free buckeye brownies.
Ingredients
Brownies:
- ⅓ cup Dutch-processed cocoa (I use Saco dutch/natural blend
- ½ cup plus 2 tablespoons boiling water
- 2 oz. unsweetened chocolate, finely chopped (I use Baker’s squares)
- 4 tablespoons (1/2 stick) unsalted butter, melted
- ½ cup plus 2 tablespoons oil (I usually use corn or canola)
- 2 large eggs
- 2 large egg yolks
- 2 teaspoons pure vanilla extract
- 2½ cups (17½ ounces) sugar
- 1¾ cups good quality all-purpose gluten-free flour blend*
- 1/2 tsp.xanthan gum
- ¾ teaspoon table salt
Peanut Butter Layer:
- 3/4 cup creamy peanut butter (I used Jif Natural)
- 1/2 cup unsalted butter
- 1/8 tsp. salt
- 2 1/4 cup powdered sugar
- 2 Tbsp. half & half or whole milk
- 1 tsp. vanilla extract
Chocolate Peanut Butter Glaze:
- 1 1/2 cups semi-sweet chocolate chips
- 1/3 cup creamy peanut butter (I used Jif Natural)
Instructions
- Preheat oven to 350°. Make a foil sling for your pan: Cut 18″ length foil and fold lengthwise to 8″ width. Fit foil into length of 13×9″ baking pan (I recommend using a metal one), pushing into corners and up the sides of pan; allow excess to overhang pan edges. Cut 14″ length foil and fit into width of pan in the same manner, perpendicular to the first sheet. Spray foil with nonstick cooking spray.
- Make the Brownies: In a large, microwave-safe bowl, whisk cocoa and boiling water together until smooth. Add unsweetened chocolate and whisk until the chocolate is melted. If you need to, place the bowl in the microwave in 30 second increments to help melt the chocolate. Whisk in the melted butter and oil. Mixture may look curdled at this point and that’s okay! Add eggs, yolks and vanilla extract, and continue to whisk until smooth and homogenous. Whisk in sugar until fully incorporated.
- In a small bowl, whisk together the gluten-free flour blend, xanthan gum, and salt. Stir the flour mixture into wet ingredients and mix with a rubber spatula until combined.
- Scrape batter into prepared pan and bake at 350° until toothpick inserted halfway between edge and center comes out with just a few moist crumbs attached, 30 to 35 minutes. Transfer pan to a wire rack and cool 1 hour.
- Make the Peanut Butter Layer: With your electric mixer, beat together the peanut butter, butter and salt on medium speed until smooth and creamy, about 2 minutes. Reduce the speed to low and alternate adding the powdered sugar and the half & half (or milk), mixing to combine after each addition. Add the vanilla extract, beat to combine, then increase the speed to medium-high and beat until completely smooth and creamy. Add extra half and half as needed to get it to a spreadable consistency. Using a spatula, spread the peanut butter mixture in an even layer over the top of the brownies. For this step, I spread it a bit, but then had better success using a sprayed piece of saran wrap or a sprayed food safe glove, and patting the mixture to cover the brownies completely.
- Make the Chocolate Peanut Butter Glaze: Melt together the chocolate chips and peanut butter in the microwave on 50% power, stirring every 30 seconds, until completely smooth and melted. Pour the mixture over the peanut butter layer and spread into an even layer with a spatula. Refrigerate for at least 30 minutes, or until set.
- When set, cut and serve! The foil sling makes it easy to pull them out and place on cutting board for easy cutting. These cut very nicely with a plastic bladed cutter. You can serve at room temperature or keep chilled.
Notes
As always, be sure to double-check your ingredients for gluten.
*Feel free to try this with your preferred gluten-free flour blend, but I only guarantee a delicious, non-gritty result if you use one of the flours I recommend.
If the gluten-free flour blend you use already has xanthan gum or guar gum in it, then omit the xanthan gum called for in this recipe.
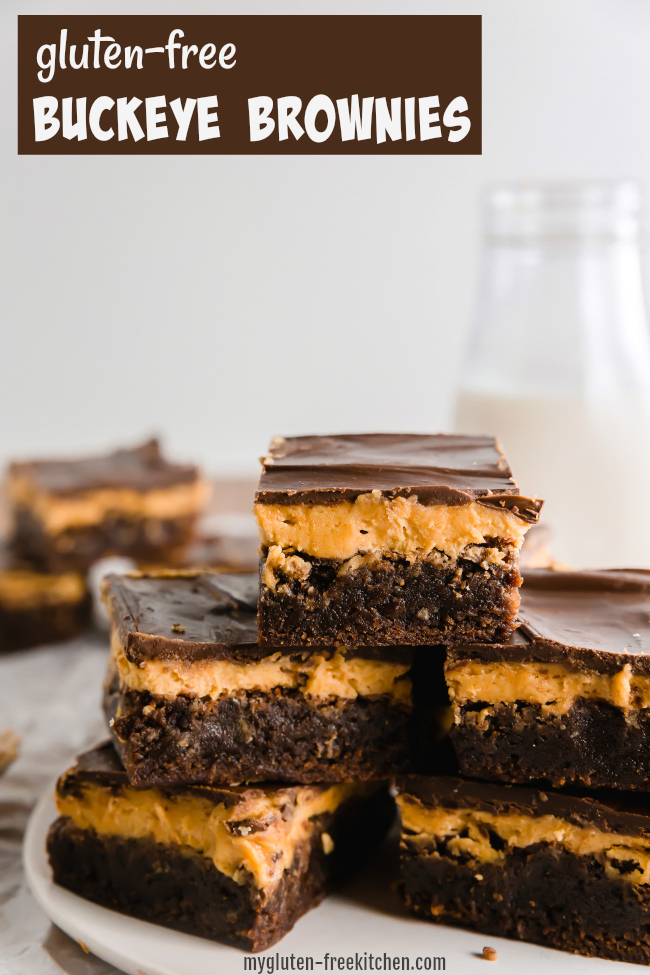
Old photo from May 2013 when I first posted this recipe:
I hope you and your family enjoy these gluten-free brownies with peanut butter and chocolate as much as my family does!
Absolutely delicious! I substituted almond butter for the peanut butter and used Namaste gluten-free all-purpose flour and they came out perfect…the brownies disappeared almost as soon as I removed them from the pan. I’ll definitely make this again! 🙂
Emily,
Thanks so much for stopping by to rate and comment on the recipe. I appreciate you mentioning your substitutions. It is so good to know that it turned out great your way. Glad you enjoyed them! ~Michelle
I found this on Pinterest and made it last weekend. I used a boxed gluten free brownie mix instead of making my own from scratch but I did do the peanut butter layer and chocolate peanut butter layer according to the recipe. It was scrumptious! I can’t stop eating it! I love that it has the perfect balance of chocolate and peanut butter. Next time I will give the leftovers to others because I couldn’t resist eating the rest of it… And low calorie…. It is not! So worth it though!
Evelyn,
Good thinking to use a brownie mix to cut the prep a bit. I’m so glad you loved it! I found them to be very addicting as well and had to pass the leftovers out so I wouldn’t eat them all too!
Thanks for taking the time to comment and rate the recipe. I appreciate it!
@Evelyn, I also used a gluten free brownie mix(Krusteaz) and these came out amazing! My daughter brought some in to work and everyone loved them. Three people asked for the recipe so I changed it from gluten free to “regular” ingredients for them. Either way, they turn out great. Great tip and cuts the prep time in half 🙂